
Posts by kar41287:
- 1 bar soap (Any kind, but “Tom’s Natural Soap” and “Ivory” are good natural choices.)
- 1 box of Borax
- 1 cup of Arm & Hammer washing soda
- A pot that holds at least 3 gallons (I use a 4 gallon canning pot.)
- A grater
- A funnel
- A long Spoon
- 2 empty gallon jugs/containers
- Grate bar of soap.
- Pour 1 gallon of water into pot.
- Cook until grated soap is dissolved.
- Add washing soda and Borax.
- Bring water to boil. The liquid will coagulate.
- Turn off heat.
- Add 1 gallon of cold water.
- Stir well.
- Using funnel, pour 1 gallon of detergent into each container.
- Use 1/2 cup per load.
-
In a medium to large saucepan combine 1 1/2 cups of water, 60 packets of Stevia or 6 ½ tsp of Stevia crystals, and 1/2 ounce of powdered gelatin. Cook over medium heat and stir continuously. Let the mixture slowly come to a boil. -
As you continue to stir, periodically check the temperature with a cooking thermometer. As soon as the temperature reaches 230 °F, take the pan off the burner. This should not take more than 25 minutes. If your syrup gets any hotter than 230 degrees, it will make your jelly beans too hard. Set the pan in a bowl of ice to stop the temperature from going up. -
Quickly stir in your pulp free juices, for flavoring, and salt. (1 cup of desired juice plus 1/2 tsp. of salt.) Try orange, lemon, blueberry, or grape. Depending on the juice, you may want to combine with lemon juice to add a kick of flavor. Blueberry and orange are good flavors to add lemon juice to. In this case use 3/4 cup of juice and 1/4 cup of lemon. After stirring in flavor, let the syrup cool. -
Lightly oil the jelly bean pans with vegetable oil and pour in your syrup. If you are using a cookie sheet you can make small, jelly-bean-size drops. Work quickly. -
Let the jelly beans sit until they are completely firm, approximately 4 to 6 hours. Lay the jelly beans on sheets of wax paper and lightly dust them with cornstarch. If they are still a bit sticky, let them sit until they are dry. The cornstarch will help dry the jelly beans out. If they do not pop out of the molds right away, try putting them in the freezer for 10 minutes. -
To make the outer shell combine the jelly beans with a 1/2 cup of water and 24 packets of Stevia or 2 ½ tsp bulk Stevia, and desired food coloring in a stainless steel pot with a lid. Gripping the sides of the pot so the lid is secure, hold it in front of you at a slight angle. Quickly move the pot in a circular motion so that the jelly beans are spinning and revolving around the interior edges of the pot. You are basically making a tumbler that allows the Stevia to gradually build up and evenly coat the jelly beans. Do this until you do not see a lot of extra moisture left in the pan. -
Place the jelly beans on cookie sheets and place in the fridge for two to three hours or until the shells are completely dried and hardened. - 3 bars of fels-naptha soap
- 1 4lb. 12oz. box Borax
- 1 4lb. box Arm and Hammer Baking Soda
- 1 box Arm and Hammer super washing soda
- 2 small containers of oxyclean or store brand oxyclean (about 3.5 lbs)
- Grate fels-naptha soap.
- Pour remaining ingredients into bucket.
- Put on gloves and mix by hand. It helps if you tilt the trashcan to each side at an angle, so you have room all the way down to the bottom for mixing.
- Store in your container – I used a Christmas popcorn tin and gave some for gifts in small containers.
- Use 1-2 Tbs. per load. (Since this is powder laundry detergent check to see if your washing machine requires it to be loaded before the clothing.)
Eco-Friendly, Homemade, Liquid Laundry Detergent
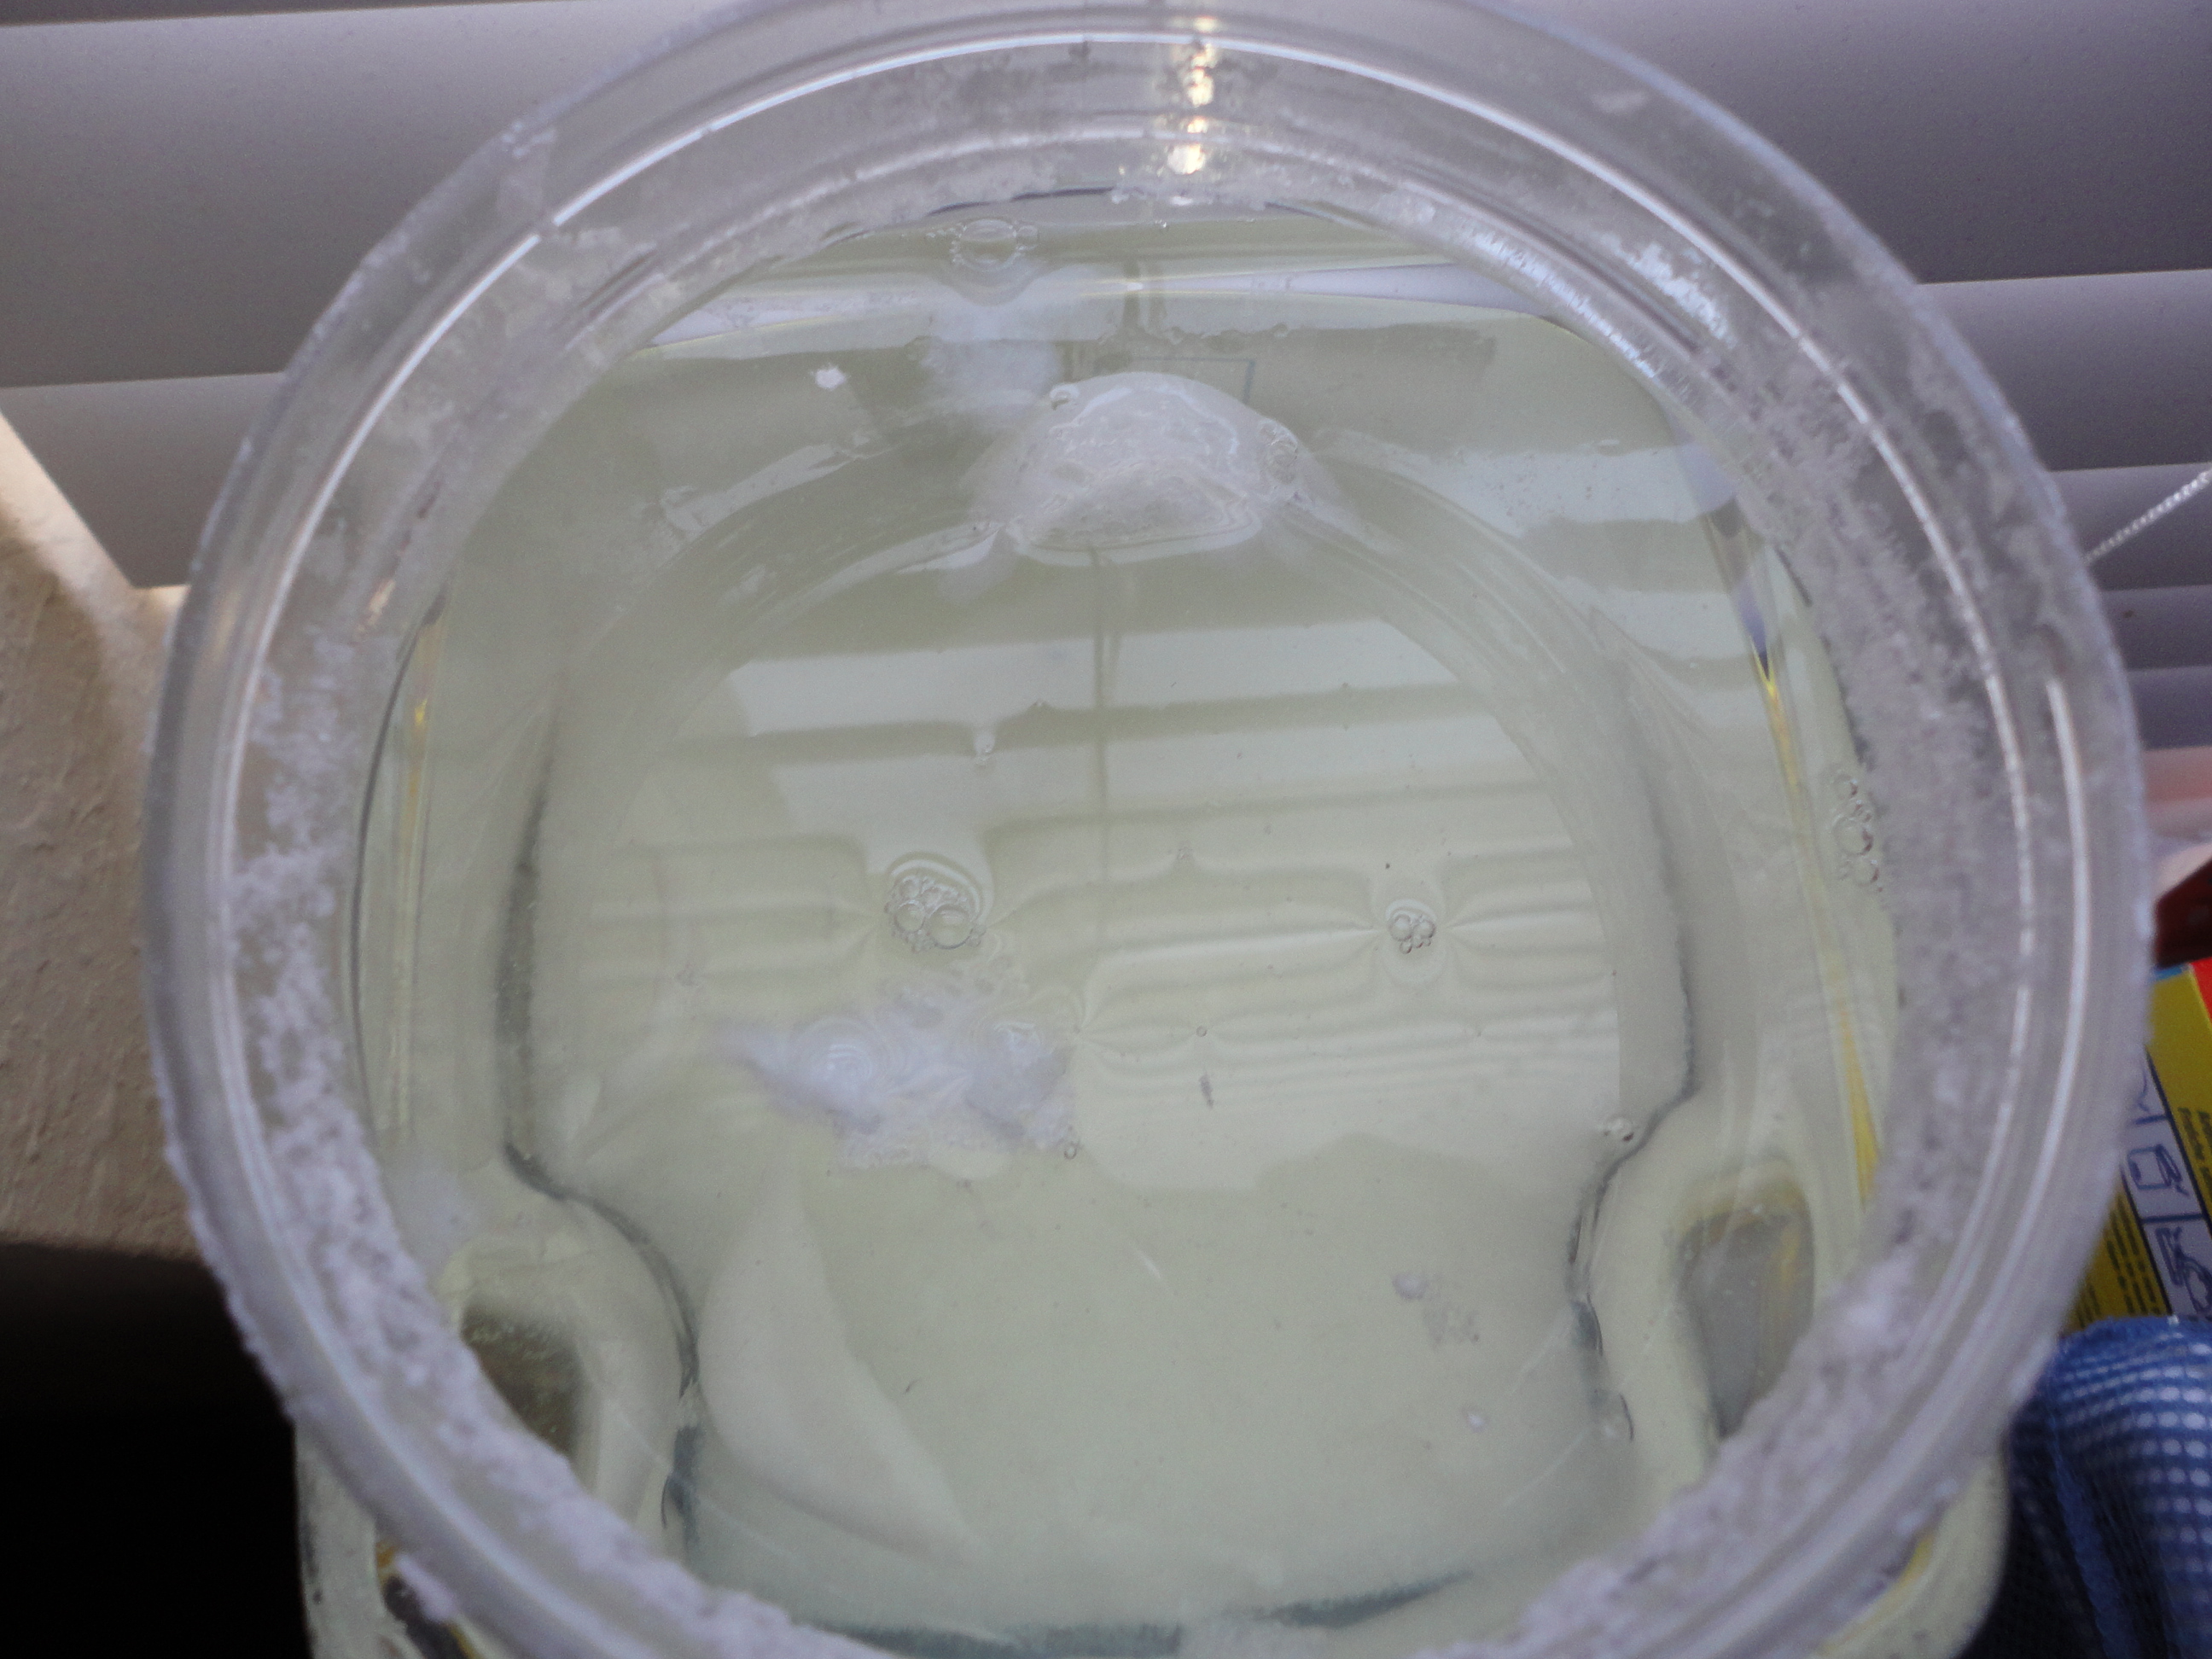
April 23rd, 2012A few weeks ago I mentioned making an inexpensive powdered laundry detergent, since it is very tough on stains, it could be difficult on people with sensitive skin and on the environment, since it gets into our water systems. For an eco-friendly, gentle, alternative I have a homemade liquid laundry detergent, that costs around $7 to make and can be used in 64 loads.
Ingredients:
In pot,
Hint: You might need to stir the liquid laundry detergent before using.
Next Step to Green Living: Recycling Paper-Looking Around Your House to Find Areas You Waste Paper
Next Cleaning/Organizing Tip: How Much Does Your Purse Weigh?
Next Homemade Savings:Homemade Vanilla Coffee Creamer – Low Fat and Sugar Free Alternatives
Paying Off Debt
April 23rd, 2012 How many of you know your true debt amount, not just an estimate? I know for the longest time my husband and I didn’t. We just made estimates and paid our minimum payments, not thinking about how interest adds to our total debt. When we finally sat down and looked at all of our statements: credit cards, vehicle loans, RV loan, and student loans, we were astounded to realize we had $115,805 in debt and 18% of that was credit cards that accumulate high interest. We own an RV, instead of land and a home due to work needs; this and my student loans are 26% each of our total debt. In addition both our vehicles are around 15% of our debt. By having these figures on paper we were able to see what our money was going toward and what steps to take in paying off our total debt.
The first step towards paying off debt is to quit using credit cards. Credit cards have a higher interest rate than your typical loan does, with the national average at 15%, and the cards I was using at 20% (Creditcards.com). Like my husband and I use to, many families use their credit cards to pay for food, gas, clothes, and entertainment, instead of using cash, checks, or debit cards on these small purchases. Most items purchased with a typical credit card have no real monetary value. What is the point of buying a $30 shirt and have 20% interest added to it? That is paying the credit card provider $6 for allowing you to use their money to buy a shirt you could have easily paid cash for, or if you don’t have the cash not purchased. That $6 is only if you pay the balance off the first month. If you pay the minimum $10 payment on that one purchase for 3 months you will end up paying an additional $18. Stopping the use of credit cards reduces the amount of debt accumulated.
As alluded to above, the second step to becoming debt free is to pay over the minimum payment. Sit down with your family and calculate a budget. If money is tight I would suggest working on your smallest debt first. Put your extra money towards that bill, so you can reach one goal quicker. Then once that debt is paid off don’t start adding more to it, use the full amount you paid towards that bill and add that to your payment of the second smallest debt. Continue this pattern until all debts are paid. For example my husband and I paid $570 on all debts each month; we quickly paid off two of our credit cards, then combined those two $570 payments with the $570 payment of our last credit card, making $1,710 payment per month. This allowed the same money to be budgeted but redistributed appropriately, reaching a total debt pay off quicker.
Another way to pay off debt faster is to put your extra money towards your principle payment on loans. You will make your minimum balance, which typically goes towards interest in the beginning, then whatever extra money you are paying you will allocate towards the principle. Unlike with credit cards extra payments on loans can be directed towards the principle instead of whatever the company feels like. This actually reduces the amount of interest you will pay overall. You will need to contact your lender and find out how they handle principle payments. There are different rules for this, some loan companies make you sign up to have your extra payments put towards principle, otherwise it goes towards interest; others require a separate check to a different address. Don’t be afraid to ask questions and for assistance when it comes to paying off your debt.
Paying off debt doesn’t have to be difficult. Follow the three tips described and stick to your rules. You can take charge of your money and have a debt free life; at least until your next large purchase.
Next Financial Tip: Paying with Cash and Saving Money
Homemade Sugar Free Jelly Beans
April 22nd, 2012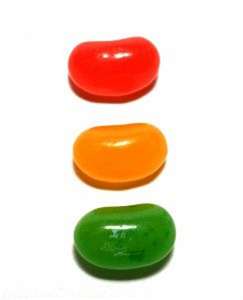 April 22, is Jelly Bean Day. Instead of buying jelly beans, let’s make our own sugar free jelly beans. This is a diabetic friendly candy choice that doesn’t use artificial sweeteners or sugar.
Ingredients:
· 1 ½ cups water
· 60 packets Stevia or 6 ½ tsp bulk Stevia
· ½ oz powdered gelatin
· Medium to large saucepan
· Long handle wooden spoon
· Cooking thermometer
· ½ tsp salt
· Flavors: ¾ cup of pulp free juice, ¼ cup pulp free lemon juice
· Cookie sheets or 4 jelly bean mold pans
· Wax Paper
· Corn starch
· ½ cup water
· 24 Stevia packets or 2 ½ tsp bulk Stevia
· Food coloring
Instructions:
Hint: If the jelly beans are still not shiny enough for you, you can add a glaze using confectioners’ sugar, water and food coloring. You can also package them in clear candy bags sealed with a tied ribbon, to give as gifts.
What are the sugar free flavorings you like to use for your homemade jelly beans?
Next Recipe: Chinese Vegetable Stir Fry
Earth Day: Reducing Your Environmental Footprint
April 22nd, 2012 April 22 is Earth Day. Earth Day is a day to remember the natural environment we inhabit, become aware of our environmental footprint, and take action helping preserve the Earth for future generations.
What are ways we can honor Earth Day and reduce our environmental footprint? Simple ideas are planting an organic vegetable garden, walking or biking instead of driving, purchasing produce from 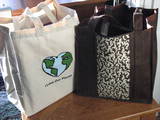 your local farmers’ market, or taking reusable cloth bags when shopping, instead of using paper or plastic bags. Each one of these helps lessen our environmental footprint and are visible ways to inspire others to honor Earth Day, not only today but everyday.
 We need to remember to take these Earth Day actions and make them habits. Saving water by turning it off while brushing your teeth on April 22 does no good, if you let it run freely the remaining 365 days this year. We have to be conscious of conserving our non-replenishable resources.
Today is a good day to take a look at your environmental footprint at http://act.earthday.org/footprint-calculator and www.myfootprint.org/. Both websites show how your lifestyle affects the Earth and provide tips for reducing your footprint. Knowing your environmental footprint helps you become more conscious of your daily habits. What ways will you reduce your environmental footprint to honor Earth Day and how will you turn these actions into habits?
Next Step to Green Living: Eco-Friendly, Homemade Liquid Laundry Detergent

The future of Earth is in our hands!
Organizing your Resources and Creative Ideas in the 21st Century
April 17th, 2012 Have you ever seen something while browsing through the internet and thought, “I need to remember that,” or “That would be a wonderful gift for Mom;” then later on forget what website you were looking at? What you need is a way to organize this information and have it at hand when needed.
Almost everyone knows how to use the “Favorites” section in their browser, but what happens if you aren’t at your computer, or your only computer access is a public one? Then saving your favorite websites to the browser is of no use to you. There are two free websites I find beneficial to my organization and memory needs, that are accessible on any computer with an internet connection.
Delicious.com is a website I have been utilizing since I was an undergraduate in 2008. It allows members to save websites and articles into categories of their naming. It also allows members to connect with other members’ public files. When
looking for employment, I would save all open positions into my “Jobs” file and make it private, since it wasn’t information I wanted shared. Delicious.com also allows you to easily place sites into multiple files and tag each site with key words to aid with searches.
Unlike Delicious.com, Pinterest.com is primarily a visual organization site and public domain. It doesn’t allow you to save sites, or pins as they are called, without picture download ability. I have found a few sites that I can save their image to my desktop then download the pin with that image. With each pin members can write a description. For example I will write craft instructions, or write something as simple as, “Love.” With the “Add Pin” tool the websites being linked will appear above the selected image for your pin. Allowing you to reopen the site to read information or make a purchase. Another benefit is that you can “repin” other members’ pins. This helps you find a lot of ideas without doing much searching.
I do prefer Pinterest.com for my visual organization, such as “Dream homes” or “Clothing,” and Delicious.com for articles and websites that are research or informative, since they don’t require a visual picture to understand their description. No matter your preference, having some form of internet organization is useful. It can make planning for Christmas or building a house just a little easier, since all your ideas are organized in one space.
Next Cleaning/Organizing Tip: Eco-Friendly, Homemade Liquid Laundry Detergent
Homemade Powdered Laundry Detergent
April 13th, 2012Dirty laundry is one thing that never goes away and laundry detergent isn’t cheap. A homemade money-saving powdered laundry detergent was my solution. This laundry detergent cost me less than $30 to make and despite giving several small containers for gifts (about 64 loads each) I still had enough to last me over a year.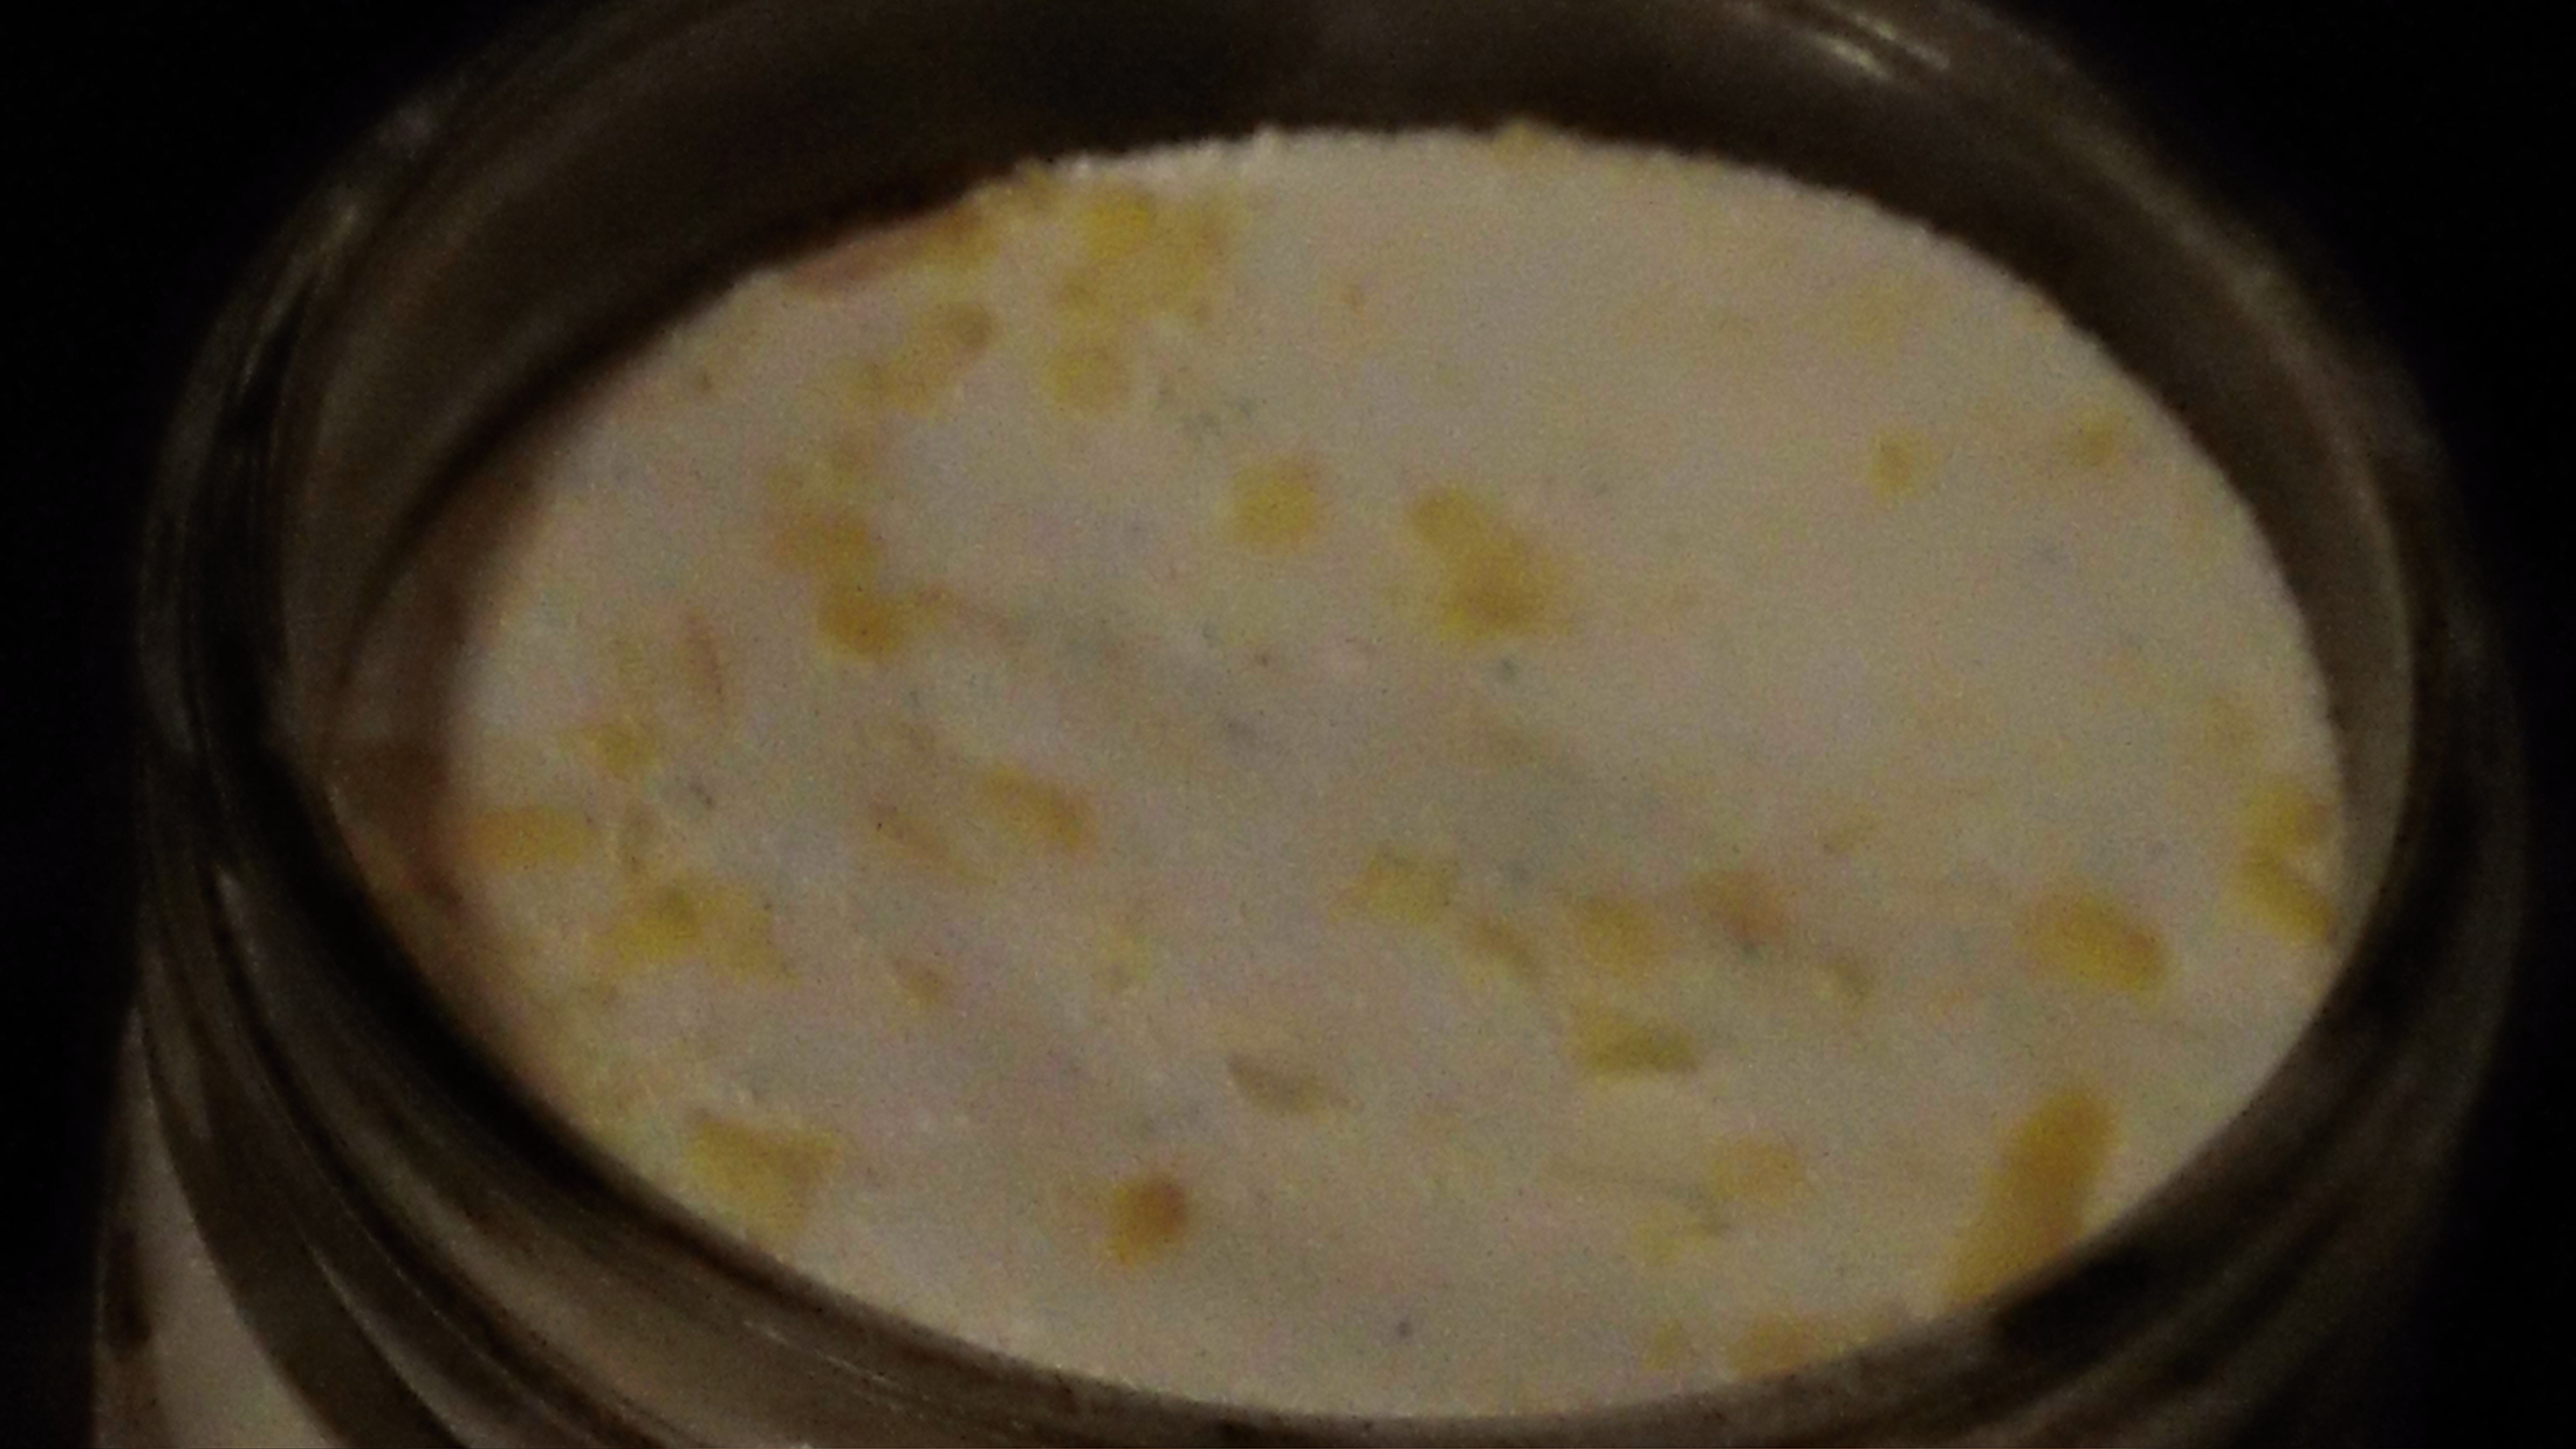
This powdered laundry detergent is very strong and can take out the toughest stains. It is nice having a homemade detergent that can take out the red dirt and mud stains out of my husband’s work clothes. Because of its strength I made sure to use gloves when mixing and I wash my hands after using.
Ingredients:
In a large trashcan or 5 gallon bucket,
Tip: After grating the fels-naptha soap, you can place it in a blender to make it finer.
Also, I recommend mixing a little powdered detergent at a time and then pouring it into your container.
I now have an eco-friendly, all natural laundry detergent recipe.
Next Homemade Savings: Eco-Friendly, Homemaed Liquid Laundry Detergent
Next Cleaning/Organizing Tip: Organizing Your Resources and Creative Ideas in the 21st Century
Next Step to Green Living: Earth Day: Reducing Your Environmental Footprint
Homemade Vanilla Brown Sugar Body Scrub Recipe: Exfoliating on a Budget
April 8th, 2012This time of year reminds me of spring cleaning, getting rid of all the dirt in our lives and making a fresh start, so let’s also remember to scrub our bodies. Exfoliating is a healthy way to remove dirt and dead skin cells, helping to keep a youthful appearance. I have a budget friendly, and yummy way of making a homemade, gentle exfoliating body scrub.
Vanilla Brown Sugar Body Scrub: 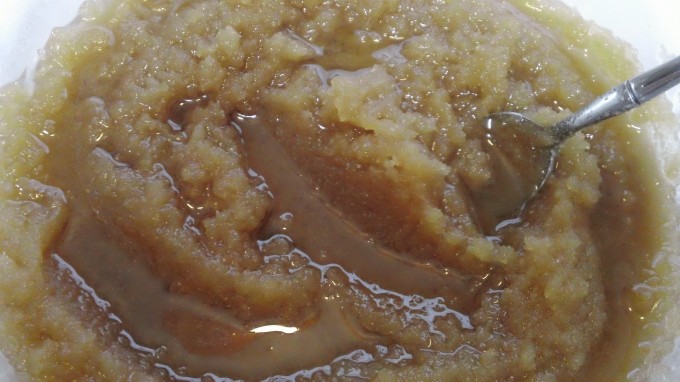
2 cups brown sugar
1 cup granulated sugar
1 cup sunflower oil
1 Tbs Pure Vanilla Extract
Mix well and scoop into sealable glass container (I recommend wide mouth mason jars).
With this recipe I suggest using a large bowl with a lid to mix the body scrub, making sure you are in an area that can be easily cleaned, in case of spills, and using a ladle for pouring. Also, you can alter the ingredient amounts based on the texture you prefer.
I was able to make 8 separate quart mason jars of Vanilla Brown Sugar Body Scrub for presents at $1.71 each. They smell and even taste (as my husband decided by eating almost an entire jar) wonderfully.
I have sensitive skin, but this body scrub is delicate enough that I was even able to use it on my face; and the sunflower oil helped me to moisturize my skin during cold or hot months. I do recommend using the scrub in the shower or bath before shaving.
If you are planning on giving this homemade body scrub as a present, you might paint the lid of the mason jar and tie a ribbon around the rim, or if you are handy with a pair of scissors, cut out a piece of fabric in the shape of a circle and use it as a cover for your lid. No matter what, you are sure to have smoother and softer skin after using this budget friendly exfoliating body scrub.
Next Health Tip: Natural Skin Care-Oatmeal, Honey, Sugar, and Olive Oil Skin Scrub
Next Homemade Savings: Homemade Powdered Laundry Detergent
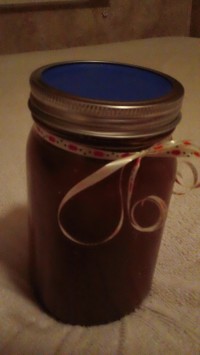
Vanilla Brown Sugar Body Scrub
Organic Clothing: Cotton, Hemp, Bamboo, and Recycled Plastics
April 3rd, 2012Organic clothing isn’t just for tree-hugging hippies. There are many benefits to purchasing organic clothing.  Organic agriculture protects both the health of the planet and mankind. It reduces the overall exposure to toxic chemicals from pesticides and herbicides that end up in the soil, air, water and food supply. These pesticides and herbicides are associated with health concerns, such as asthma and cancer.
The USDA reported, in 1995, cotton was among the top 4 crops accounting for more than 85% of the herbicides used, and in combination with corn, accounted for nearly 65% of insecticides used. By purchasing organic clothing, we are supporting organic farmers and limiting the amount of pollutants that go into the earth and that our skin is in contact with. We are also helping to limit the amount of water used for production, since, due to the lack of pesticides, organic agriculture takes less water, which is beneficial during times of drought.
Besides cotton, there are hemp, bamboo, silk, wool, soy, and recylcled plastic forms of organic clothing. You can also find these materials in linens, purses, jewelry, pet beds, and other products. And the styles can range from casual to elegant attire.
To know if you are buying organic, take a look at clothing labels before purchasing. You want to make sure they state “100% organic ” and “Certified Organic”. Also, don’t be afraid to look at your favorite department store for organic clothing, but if you don’t find what you want there are a large variety of online stores you can choose from.
Check out Organic Clothing on You Tube for additional information.
Next Step to Green Living: Earth Day- Reducing Your Environmental Footprint



